In this section we are adding the assembled brain board to the 3D printed enclosure. If your kit did not include the 3D printed enclosure, feel free to either skip this step, or follow along with the one you printed. If so, the enclosure will need heatset inserts added. In this section you will need the 3D printed lower and upper enclosure, as well as the fasteners.
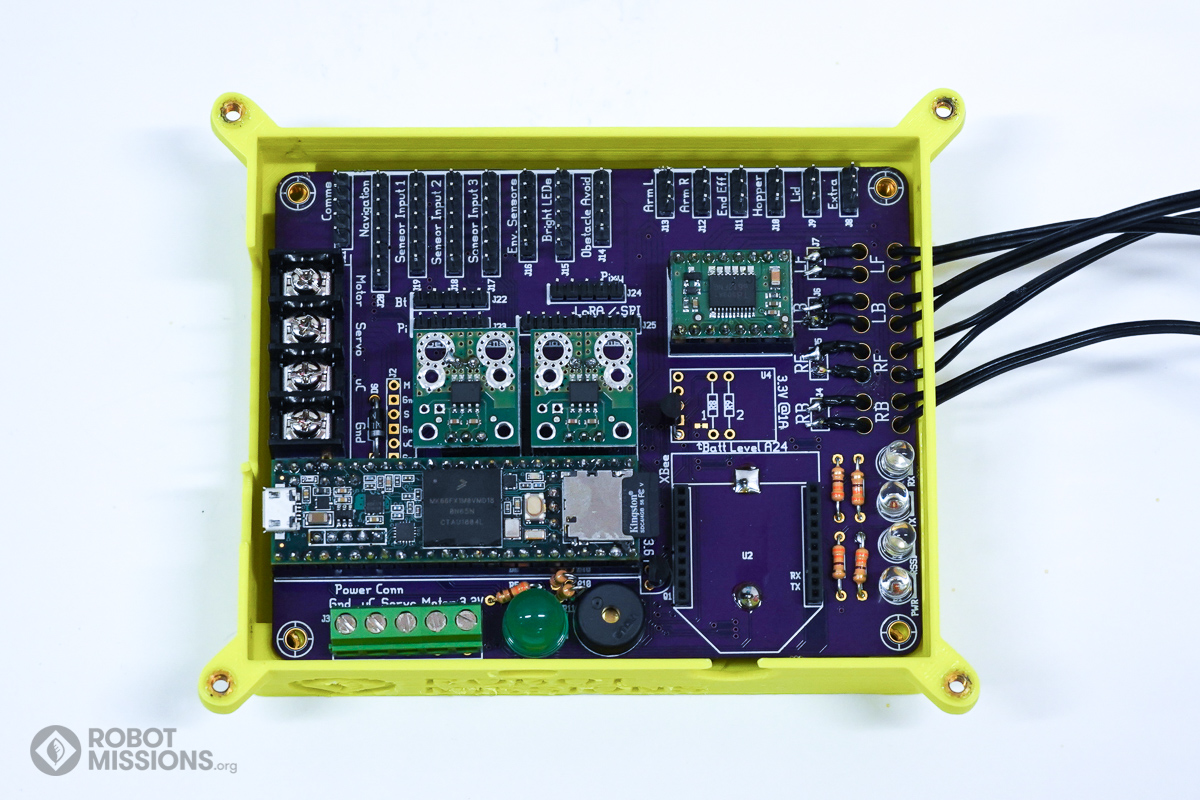
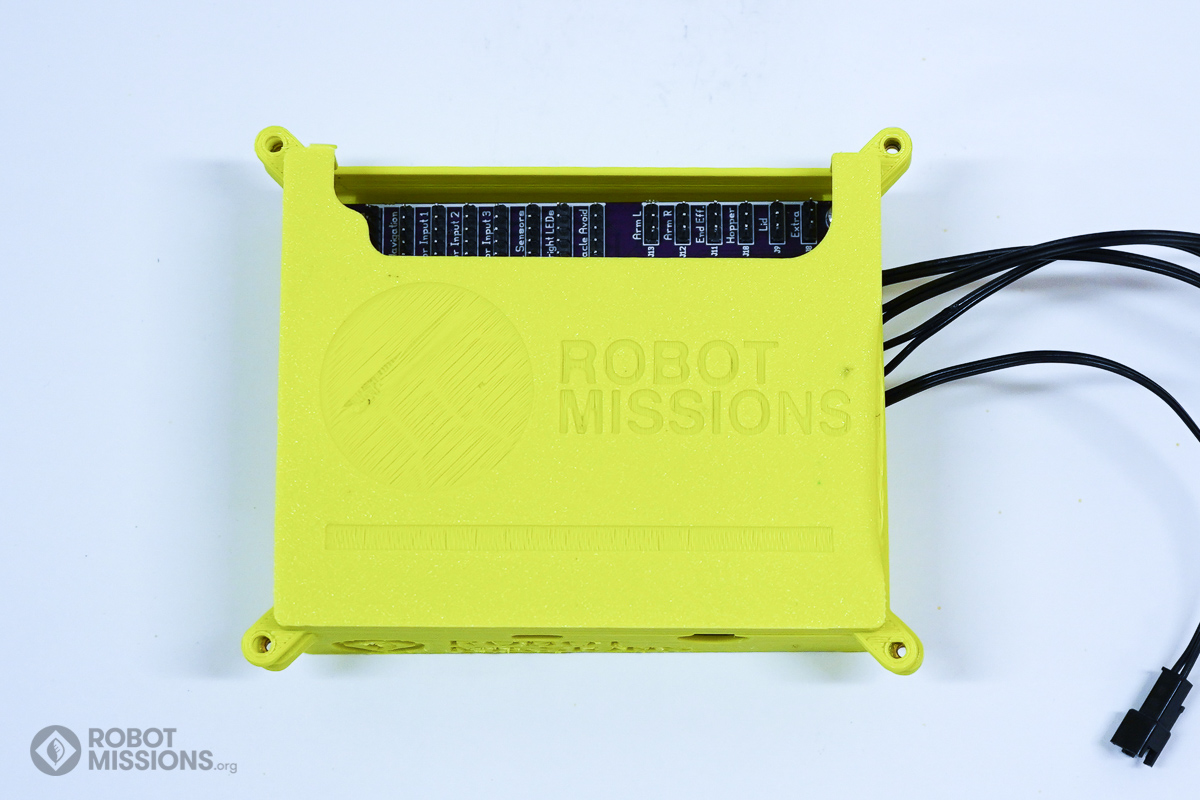
Insert the assembled brain board into the lower enclosure.
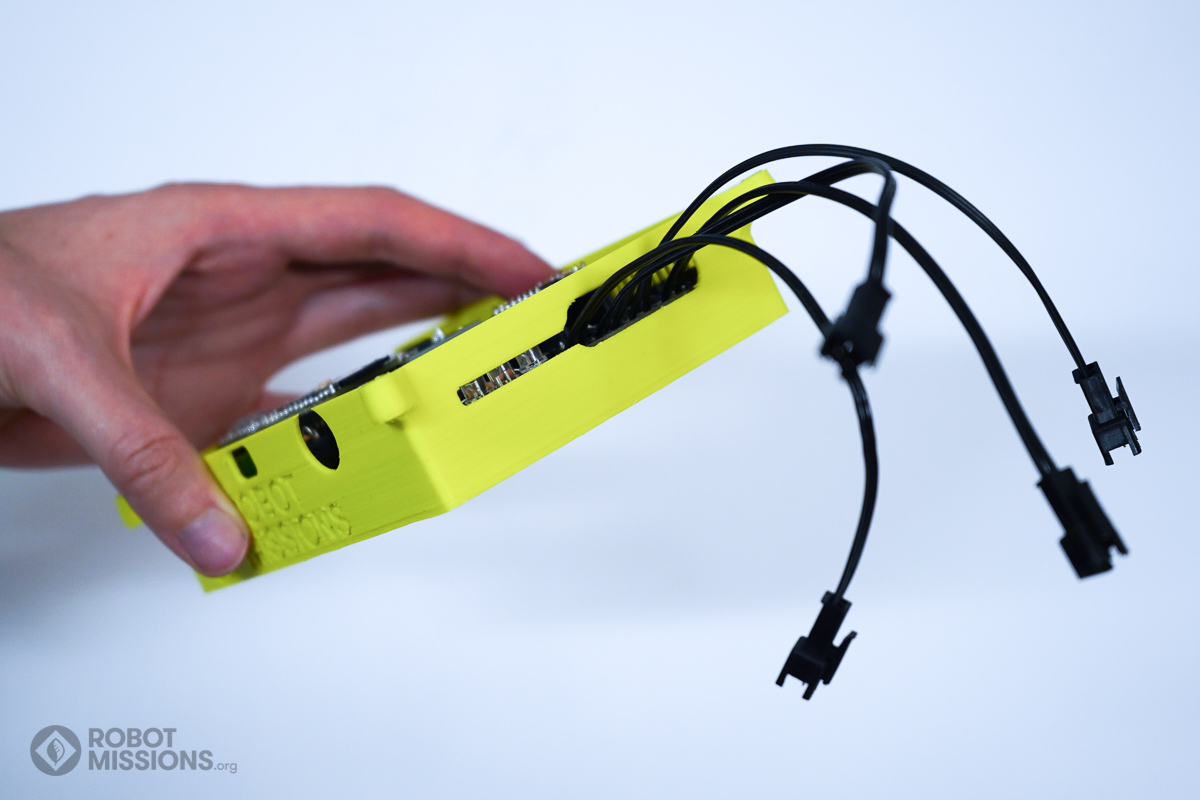
Move the motor connector wires out of the section of the enclosure.
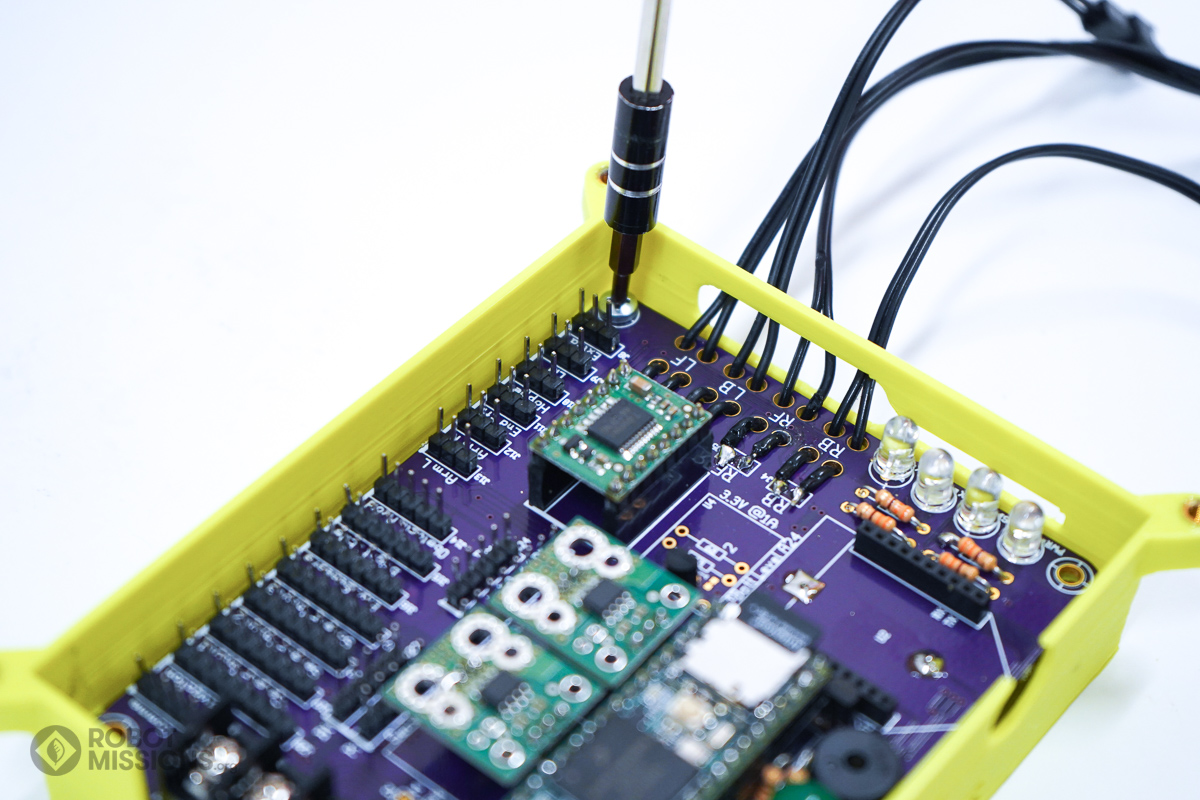
Add screws to attach the brain board to the lower enclosure heatsets.
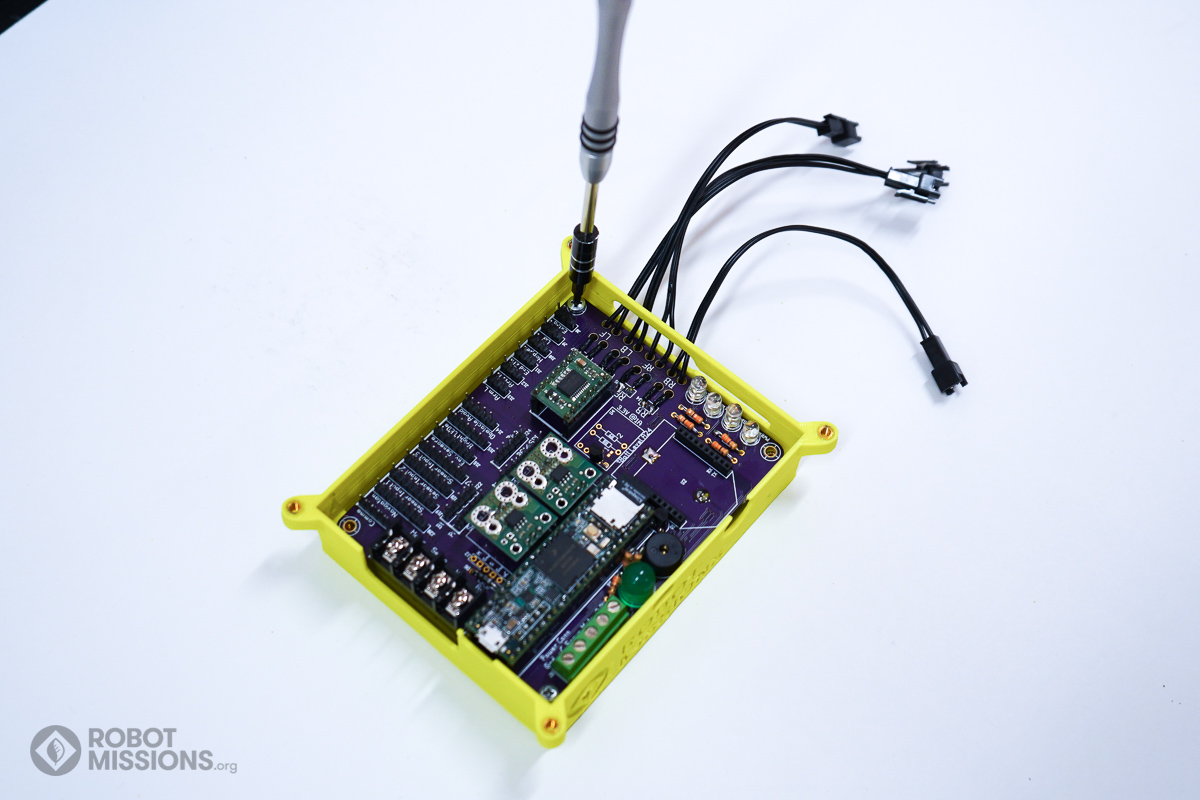
It’s possible you might only be able to get 2 screws to completely attach. This could be due to warpage in the print or dimensionality differences when assembling.
Add the upper enclosure to the lower enclosure.

Add screws to attach the upper enclosure to the lower enclosure. It’s possible you might only be able to get 2 or 3 screws to completely attach. This could be due to warpage in the print or dimensionality differences when assembling.
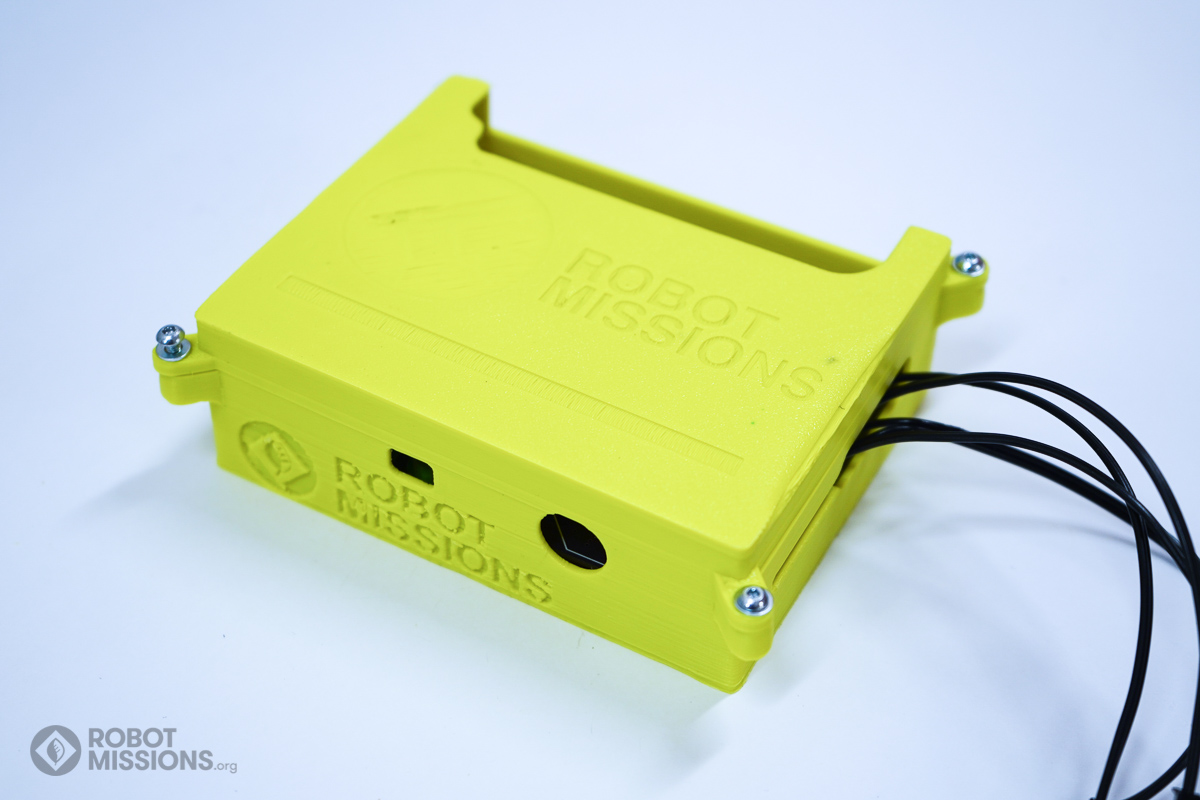
Here is the completed enclosure.
| ← Last few steps: wire, batt, card, thumbs up | Home |