In this concluding step, we will add the necessary glue, and add the lid to the enclosure. We are all done after that! Don’t forget to add the boom stopper though! Congratulations, you will have completed the assembly of the power pack! Go forth and bring power to your cool robots!
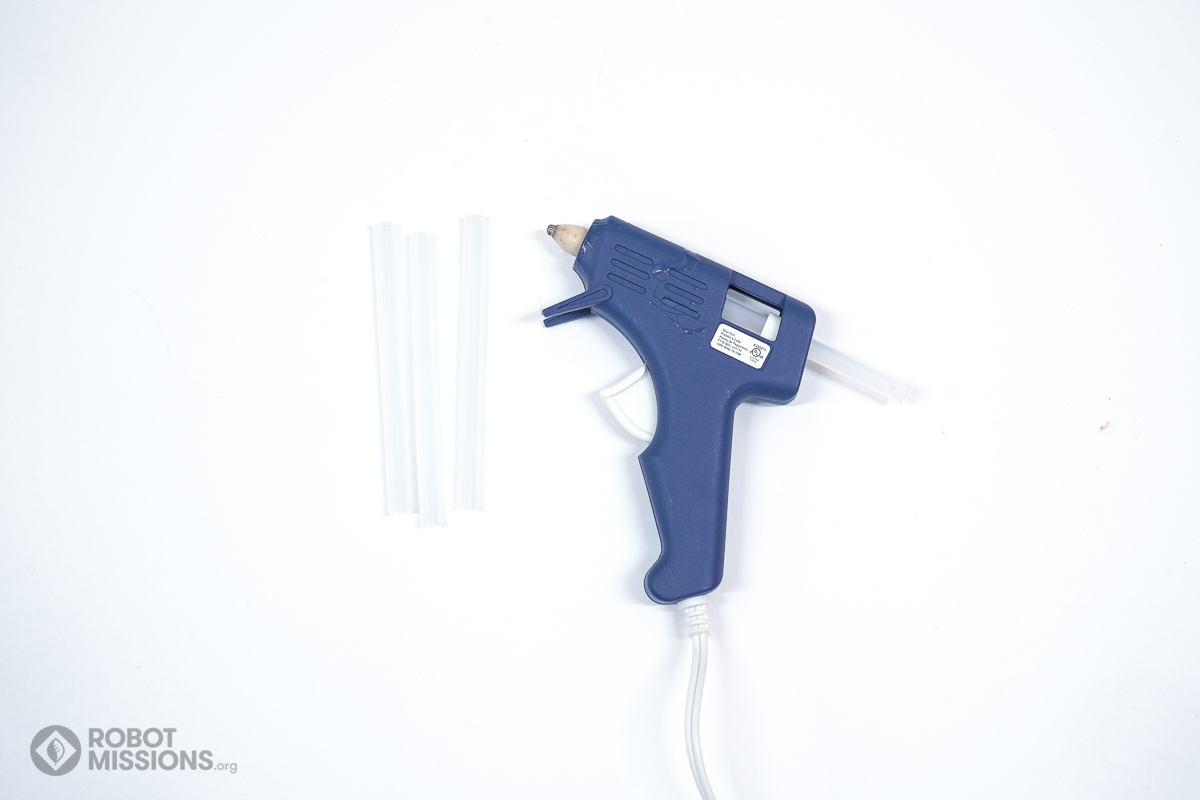
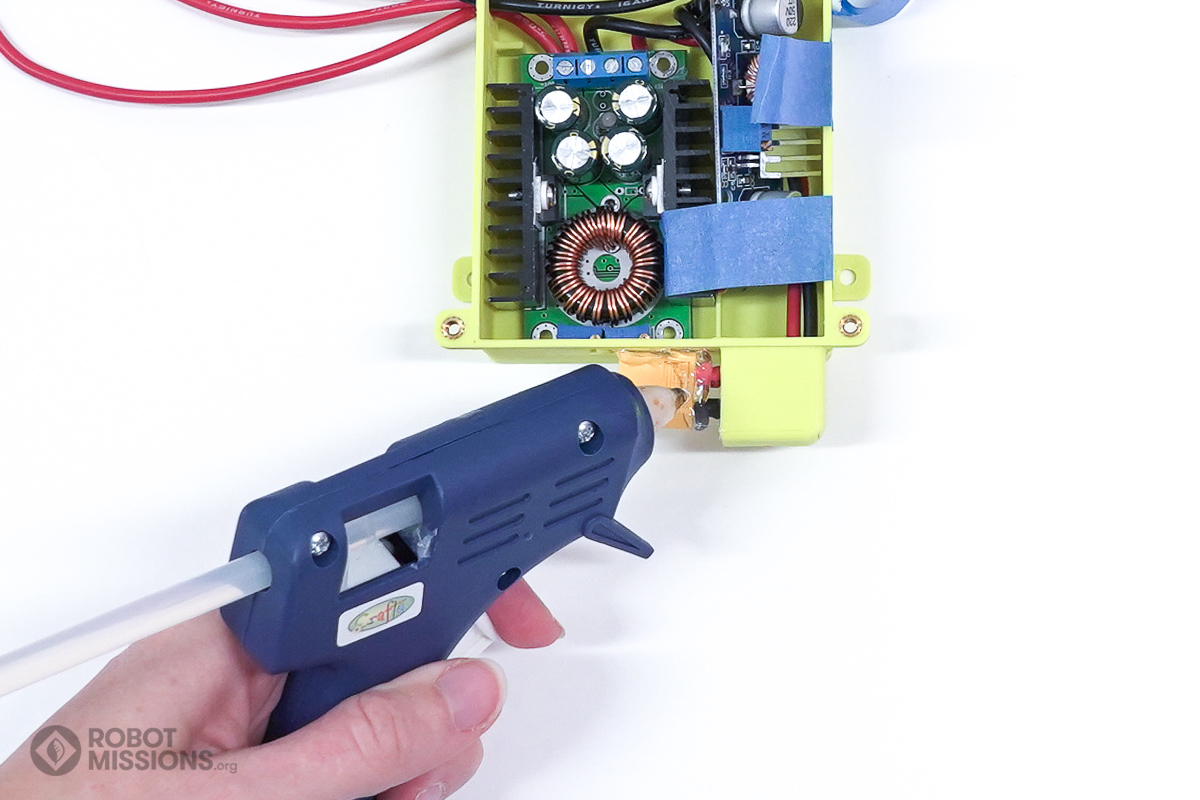
Now it is time to add the finishing touches to the regulators in the enclosure. For these next steps, you will need a hot glue gun and some hot glue sticks.
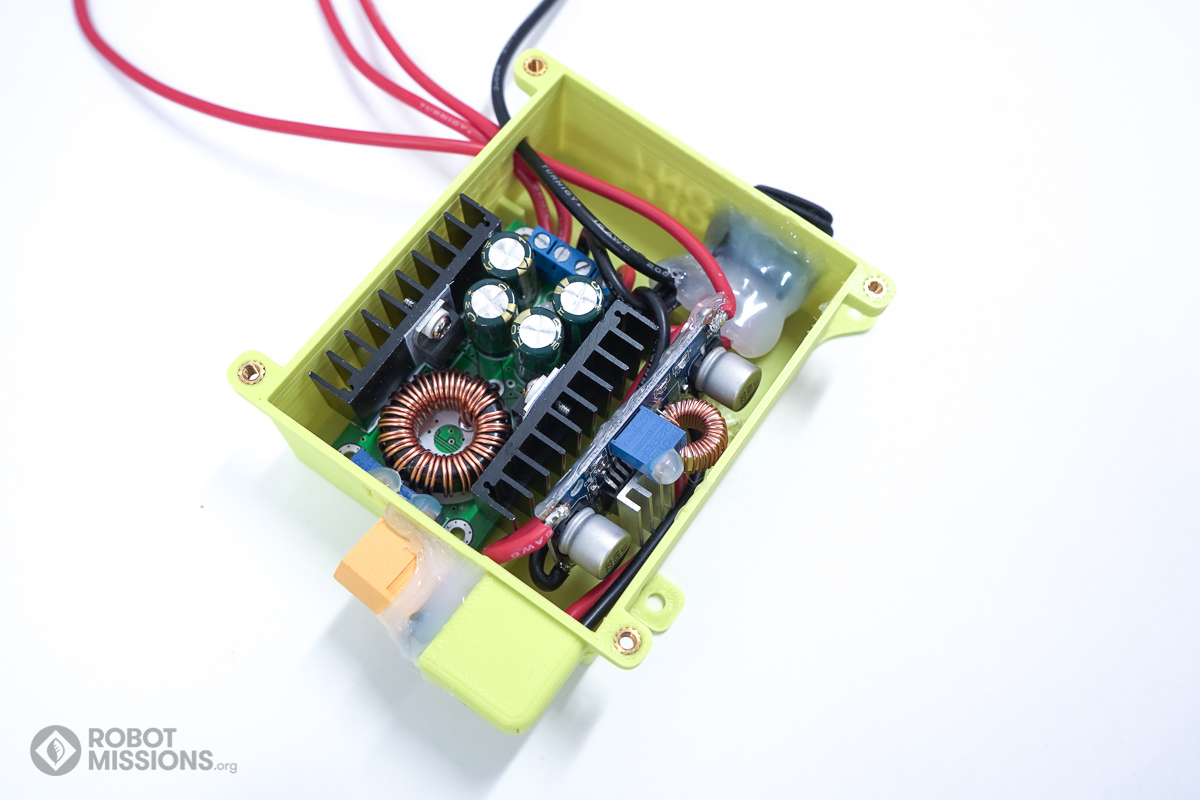
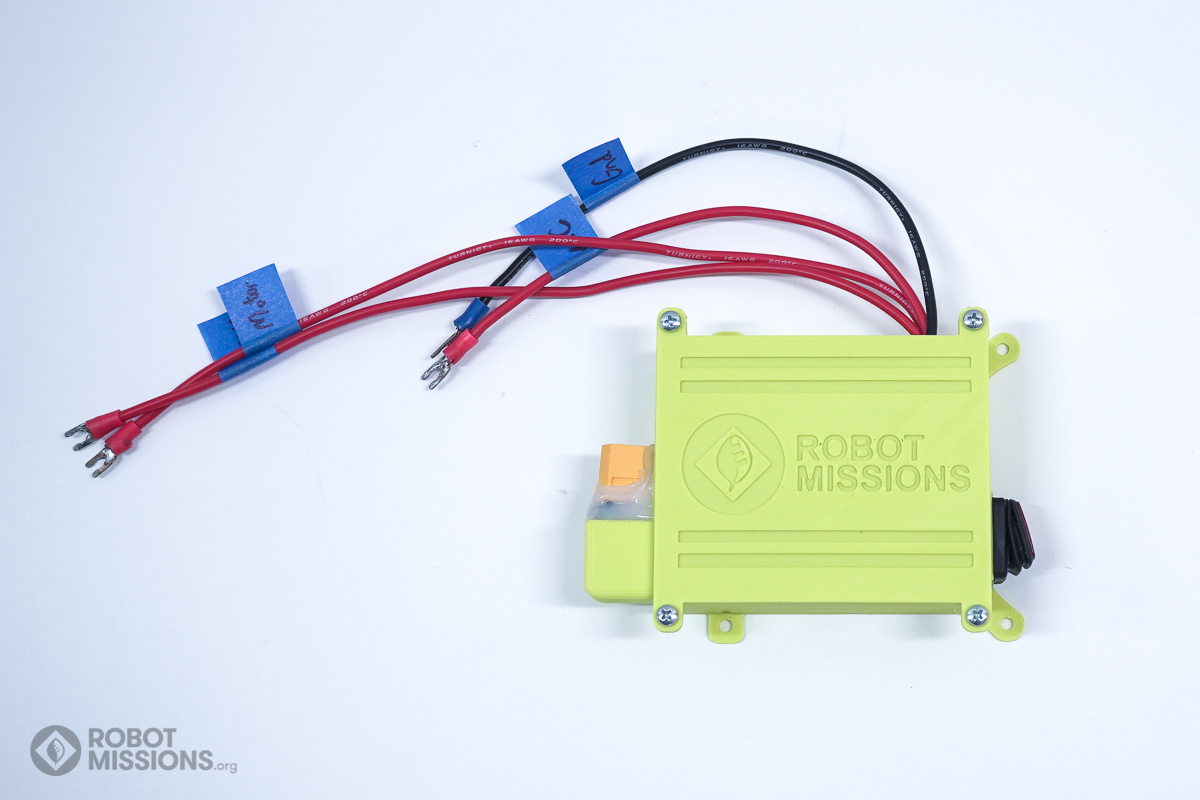
Start first with the battery connector. Remove the tape, and apply the glue all around the connector. Overlap some of the glue onto the enclosure. It should be sturdy in place now. Hold it so that it dries securely.
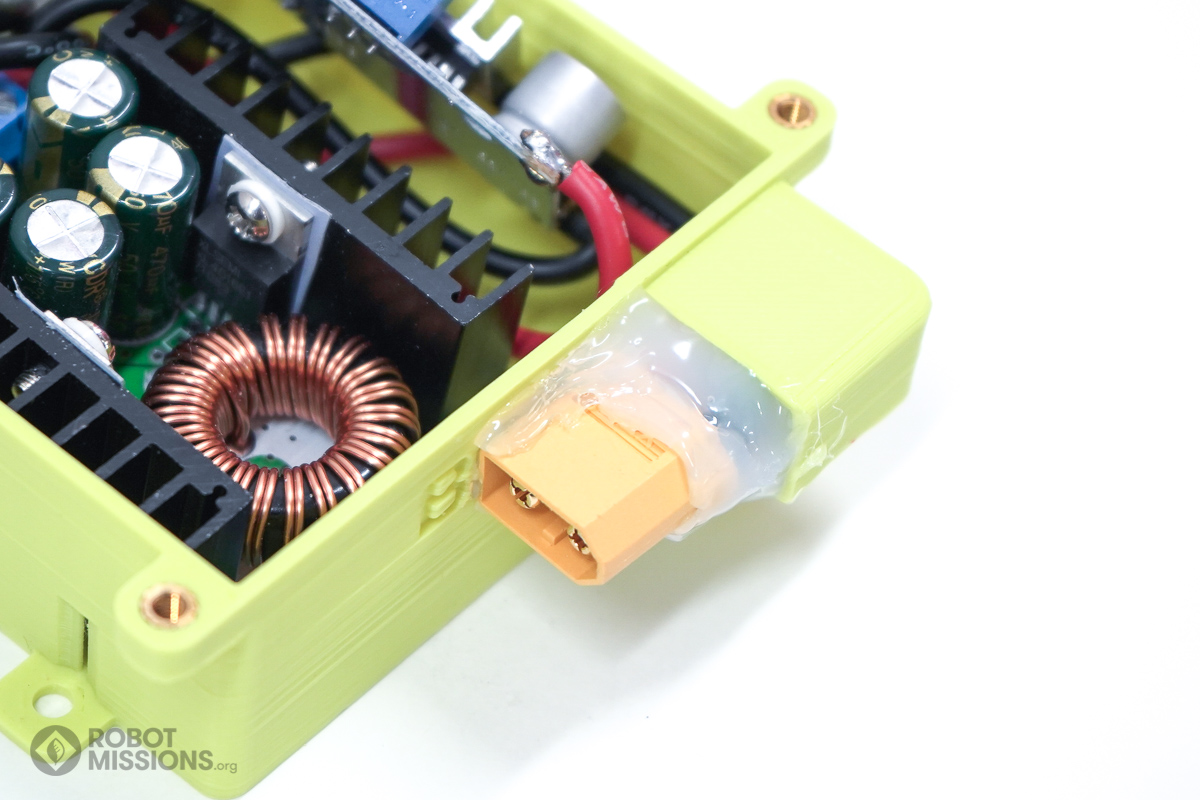
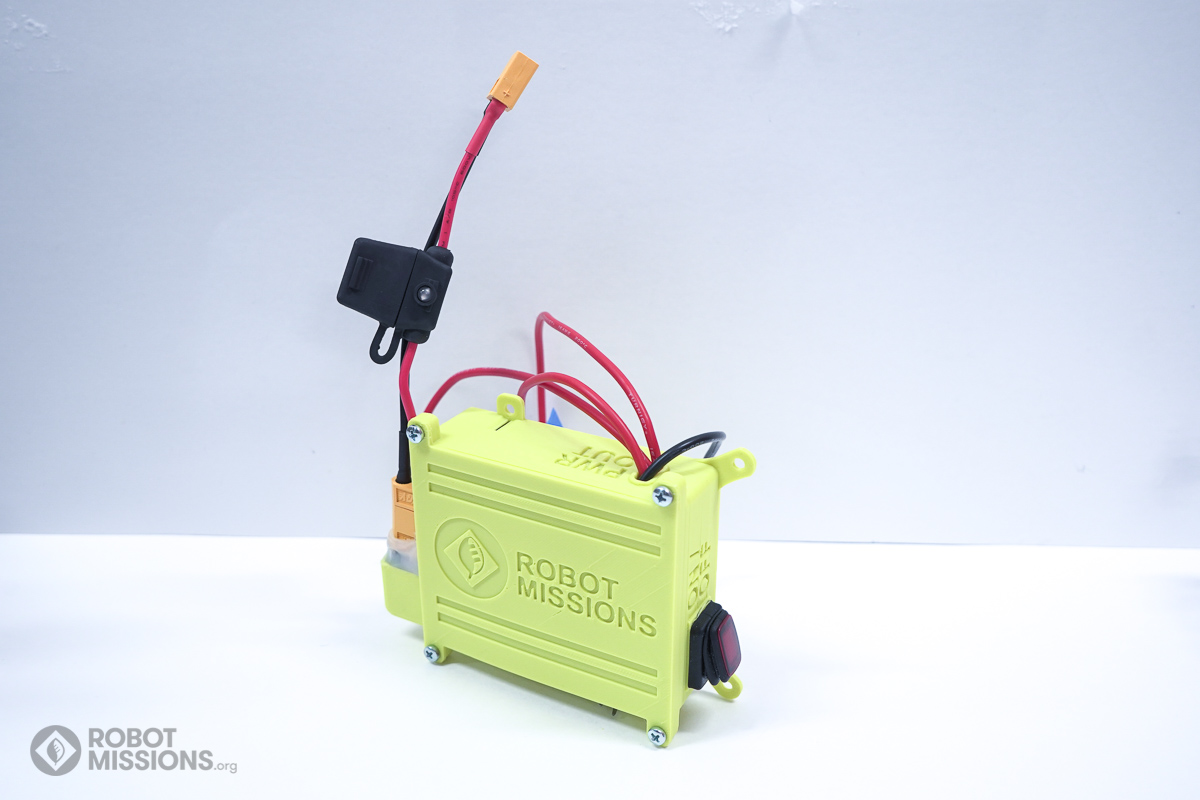
Here is a look at the battery connector when the hot glue has dried.
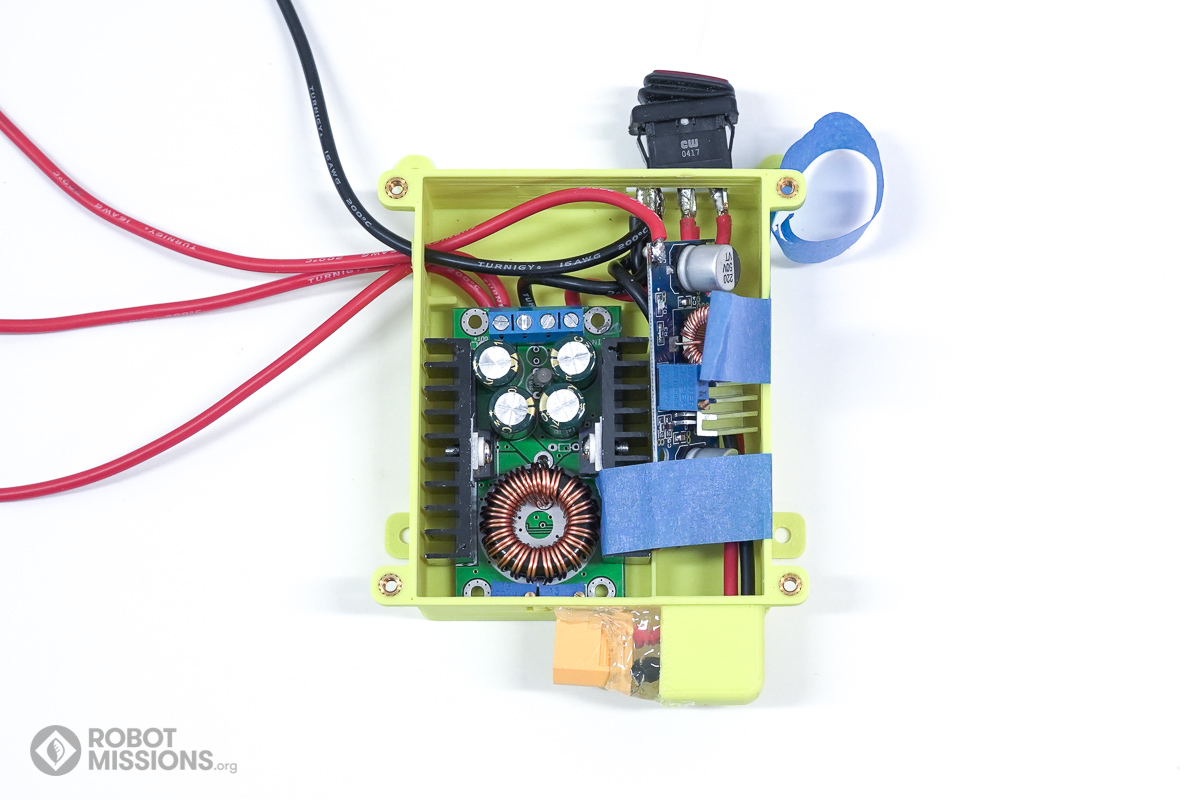
Gently slide the power switch out of its rectangle area. Apply hot glue to the surrounding perimeter.
Insert the switch back in to the rectangle area. Hold it in place for the hot glue to set. Remove the tape from the two regulators. Next, apply hot glue all around the terminals of the switch.
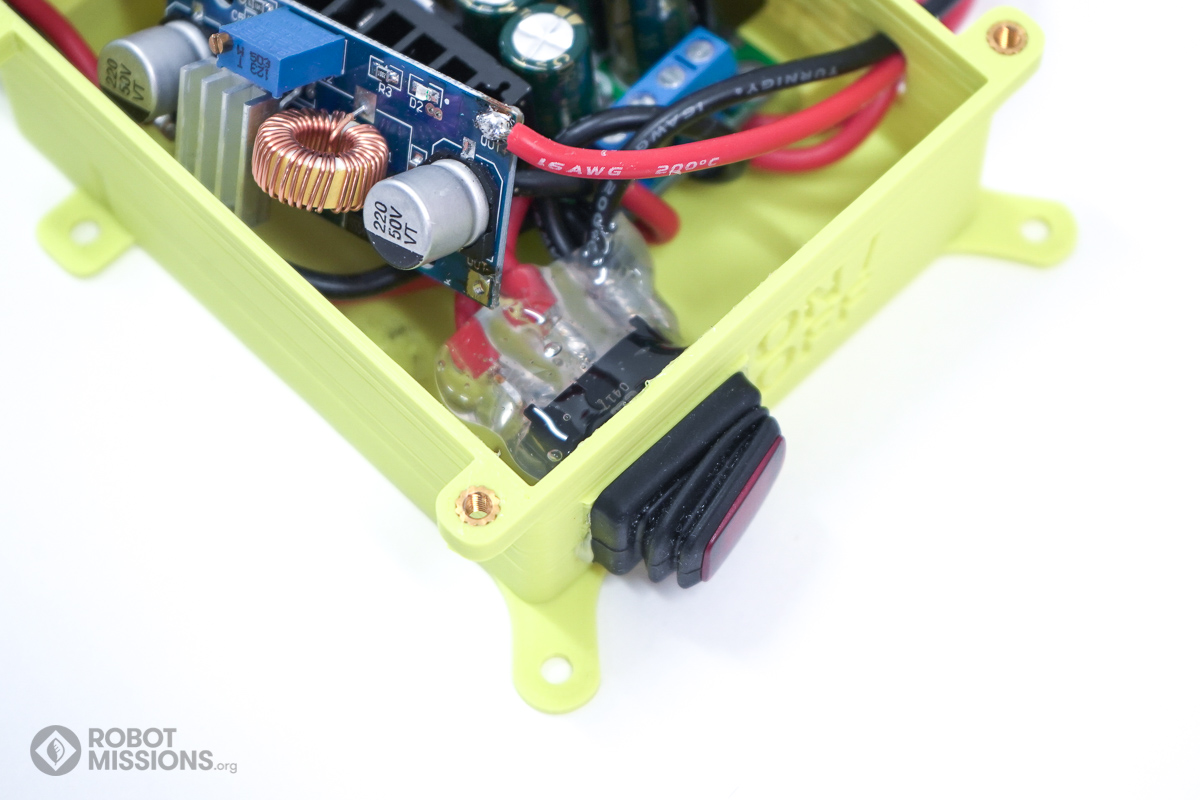
The glue should completely cover the terminals.

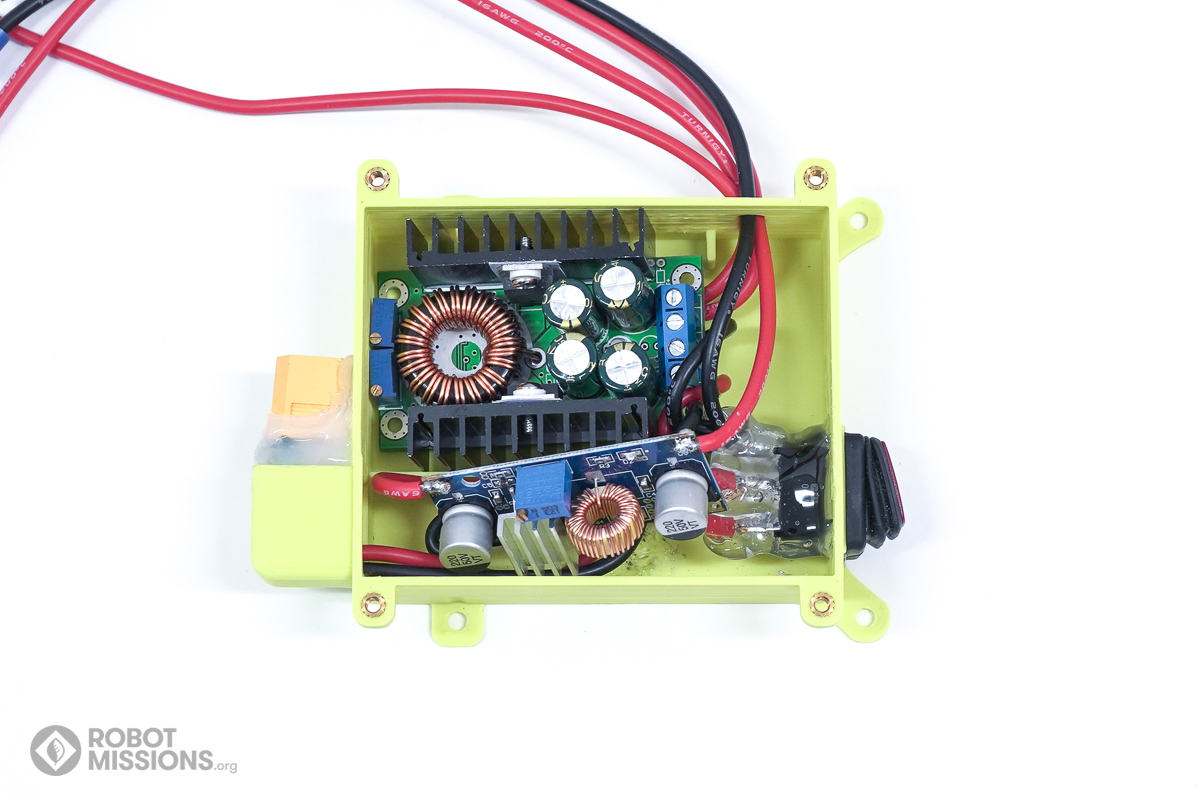
Apply a dab of hot glue to the tops of the three potentiometers on the regulators. This is a little trick that will prevent vibrations from turning the potentiometer accidentally. The glue can always be removed afterwards if it needs to be changed.
Ensure the two regulators are fit snuggly into the enclosure. Be cautious of any potential for shorts, and seal with hot glue as necessary.
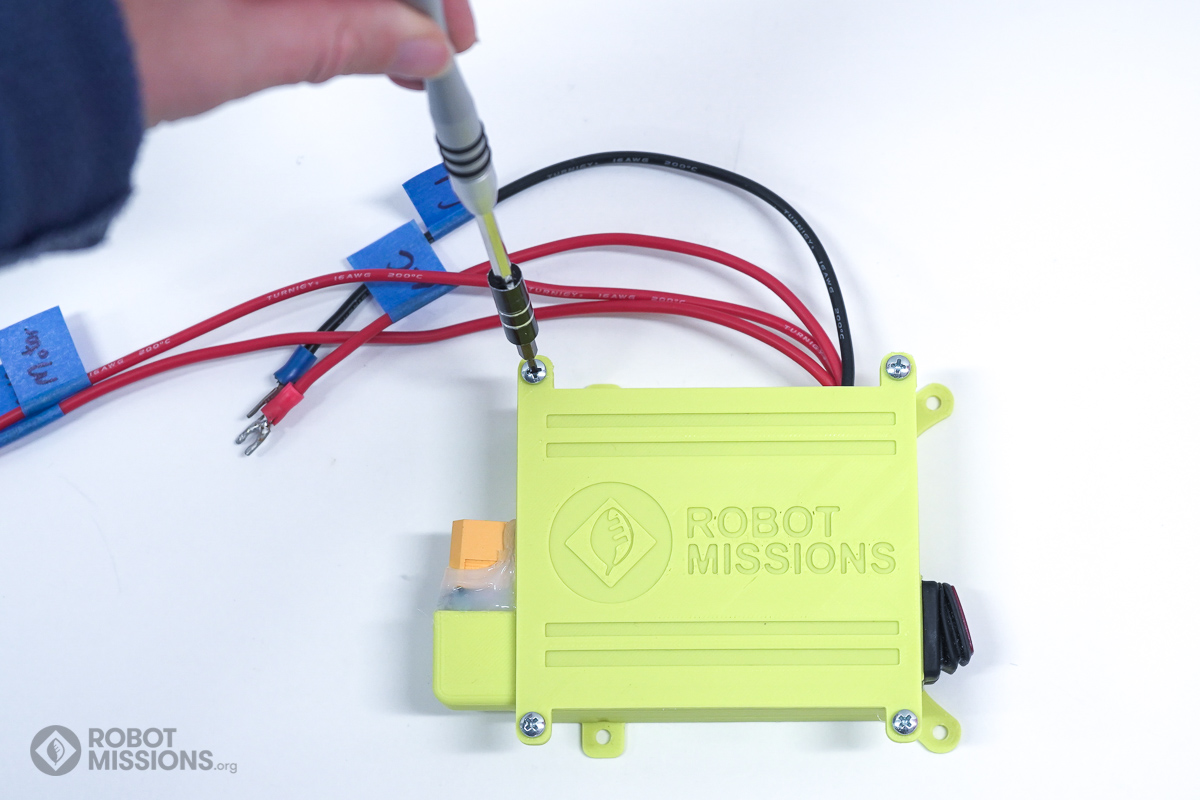
Obtain the lid of the enclosure and use the fasteners to attach it into the heat set inserts.
Congratulations! You have completed the power pack.
…But don’t forget the boom stopper too!
| ← Calibration | Home |