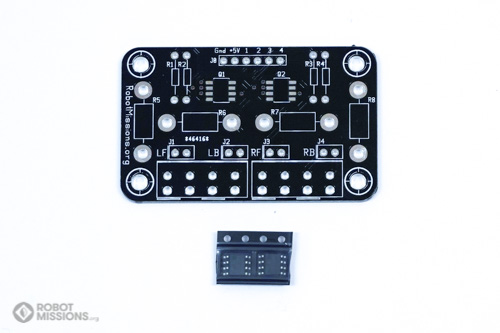
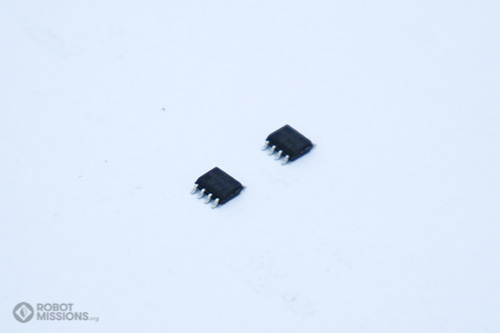
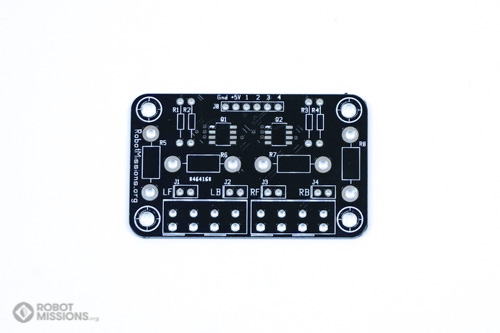
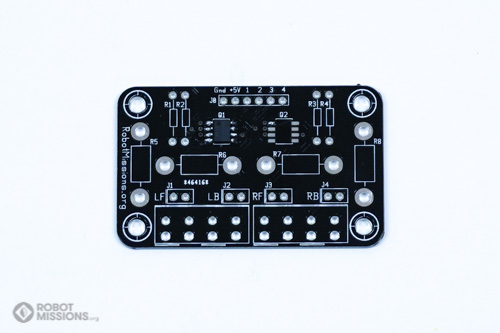
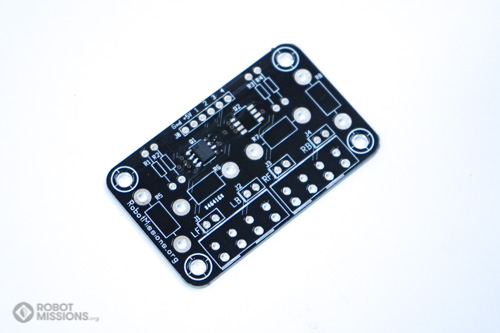
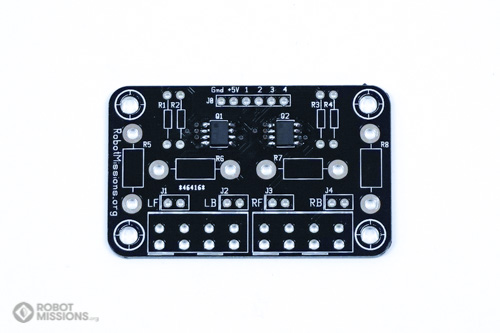
In this part we are going to be soldering the little mosfets onto the board. Being surface mount components, they will likely be the trickiest – so best to start with this first. For this part you will need the super bright lights circuit board, as well as the two mosfets – which are in their reel packaging.
Obtain the super brights circuit board and the two mosfet chips.
Mosfets are so cool! These are dual channel mosfets. Examine the chips to find the dot indicator on it. This orientation indicator will be needed for later.
Start by adding solder to the top left-most pad of Q1 and Q2.
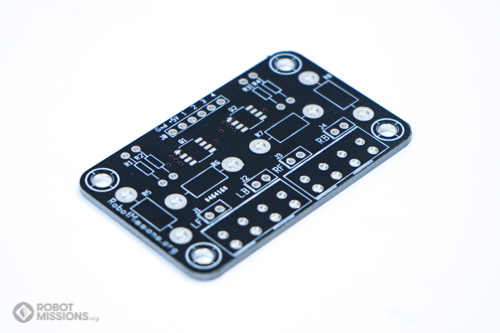
Here is an angled view to show the amount of solder better. It is just a small amount of solder.
Place the mosfet on Q1. The dot indicator should be at the top left. Proceed to reflow the first leg and position the chip so all the legs line up with the pads. Continue to solder the rest of the pads.
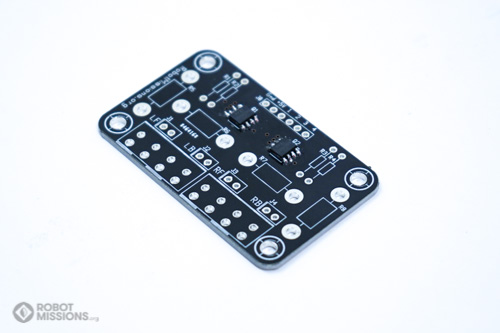
Here is a look at the result of the soldering.
Add the next mosfet to Q2. The dot indicator should be in the top left. Proceed to reflow the first leg and position the chip so all the legs line up with the pads. Continue to solder the rest of the pads.
Here is a look at the result of the soldering.
| ← Introduction | Resistors, and big resistors → |
