In this part we will be adding the wheel on to the motor pieces. You’ll have to repeat this 4 times, for each wheel. Even if your wheel is different than what’s seen in the steps, there is always 5 holes where the screws will be fastened through.
*Note: If you plan on driving your Bowie around a lot (who wouldn’t?) we recommend blue thread lock on the fastener threads.
Fasteners required
- 5x M3 16mm
- 5x M3 washers
- 5x M3 hex nuts
Pieces required – Check out the pieces page for what to print! (Coming soon)
If you ever need a to see what you are working on, feel free to go back to the splash page, where there is an interactive 3D model viewer there.
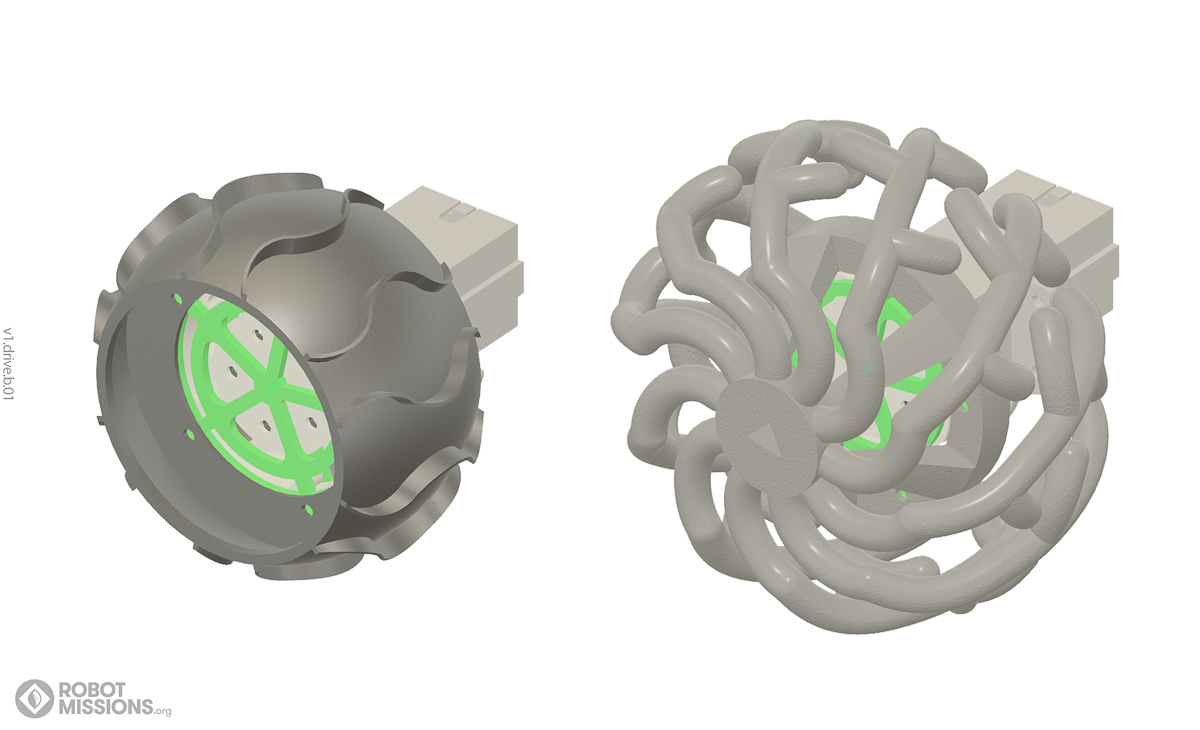
The wheels are coming up! Now it’s time to choose your type of wheel. There is the standard ‘wave grouser’ wheel, and the more exquisite ‘spring branch’ wheel.
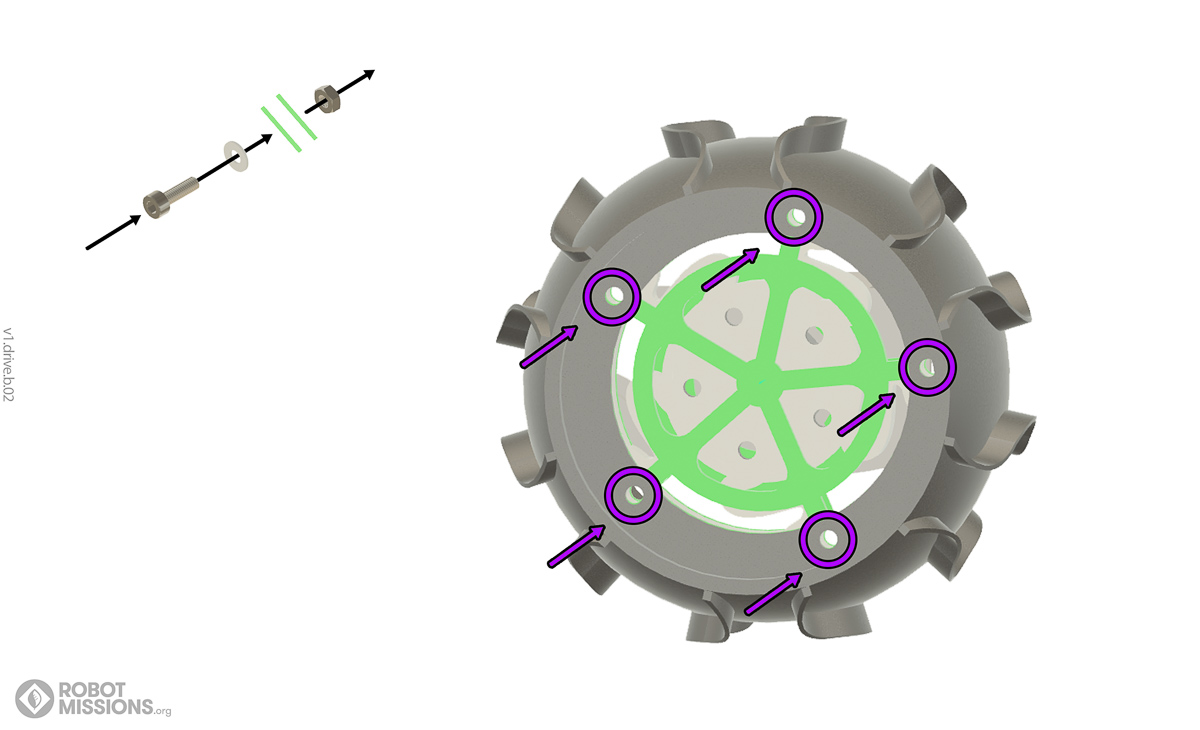
Place the wave grouser wheel on your assembly and attach it with 5x M3 16mm screws.
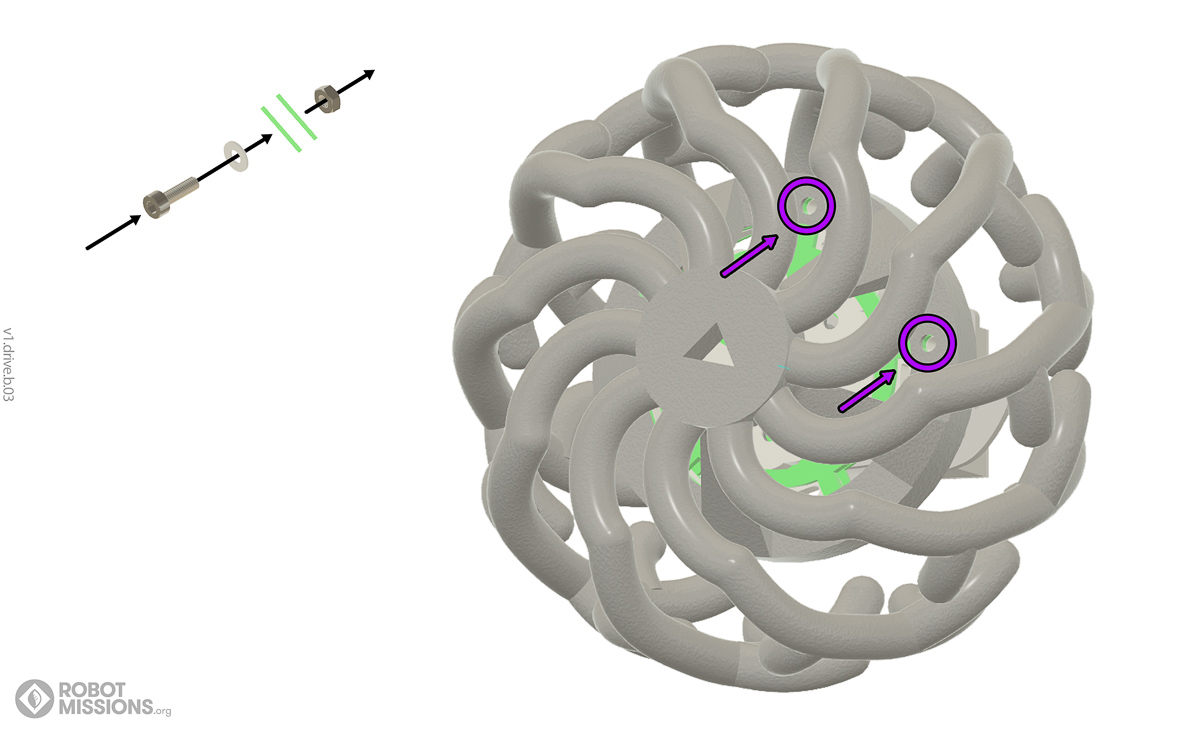
If you have the spring branch wheel, you will also use 5x M3 16mm. Start here first.
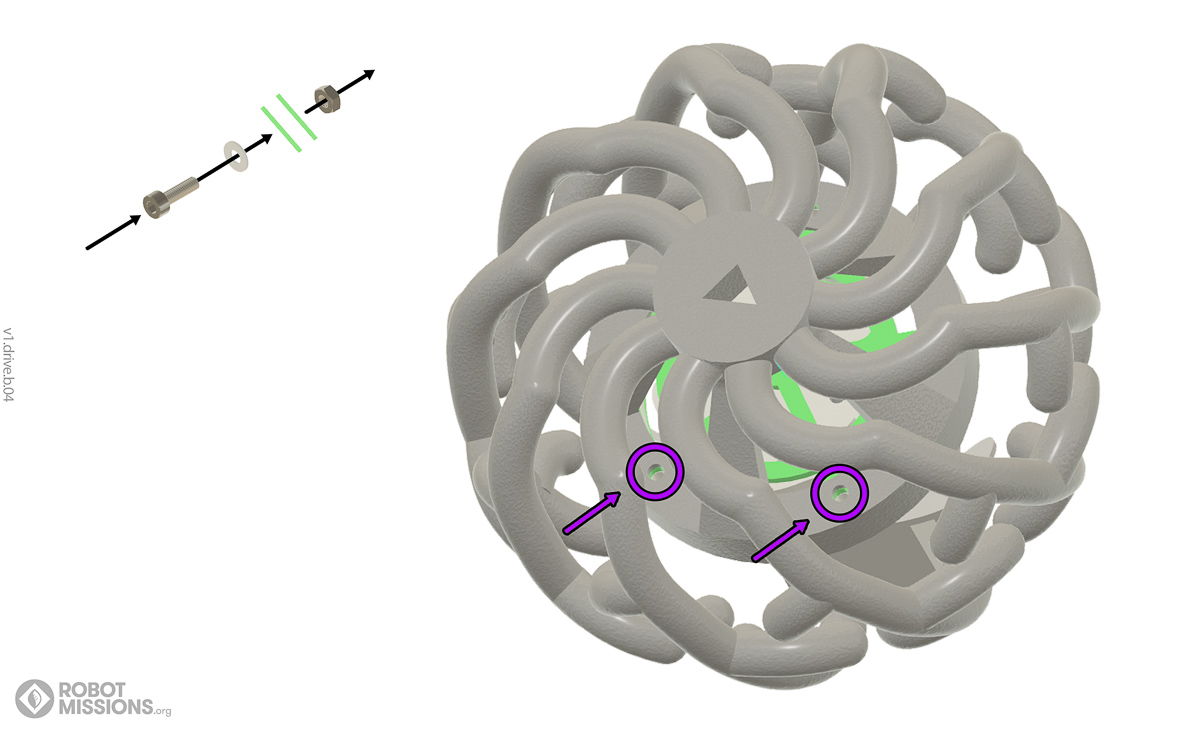
Then rotate the wheel around and attach more of the screws here.
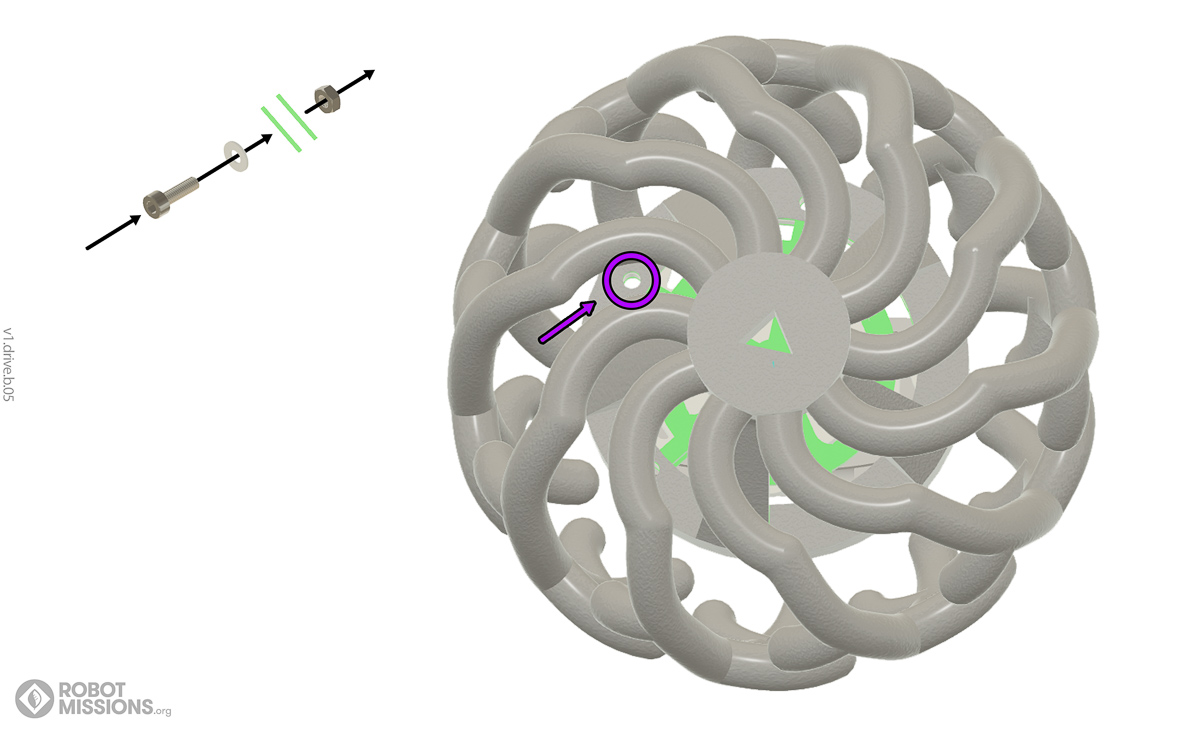
Don’t forget the last one here!
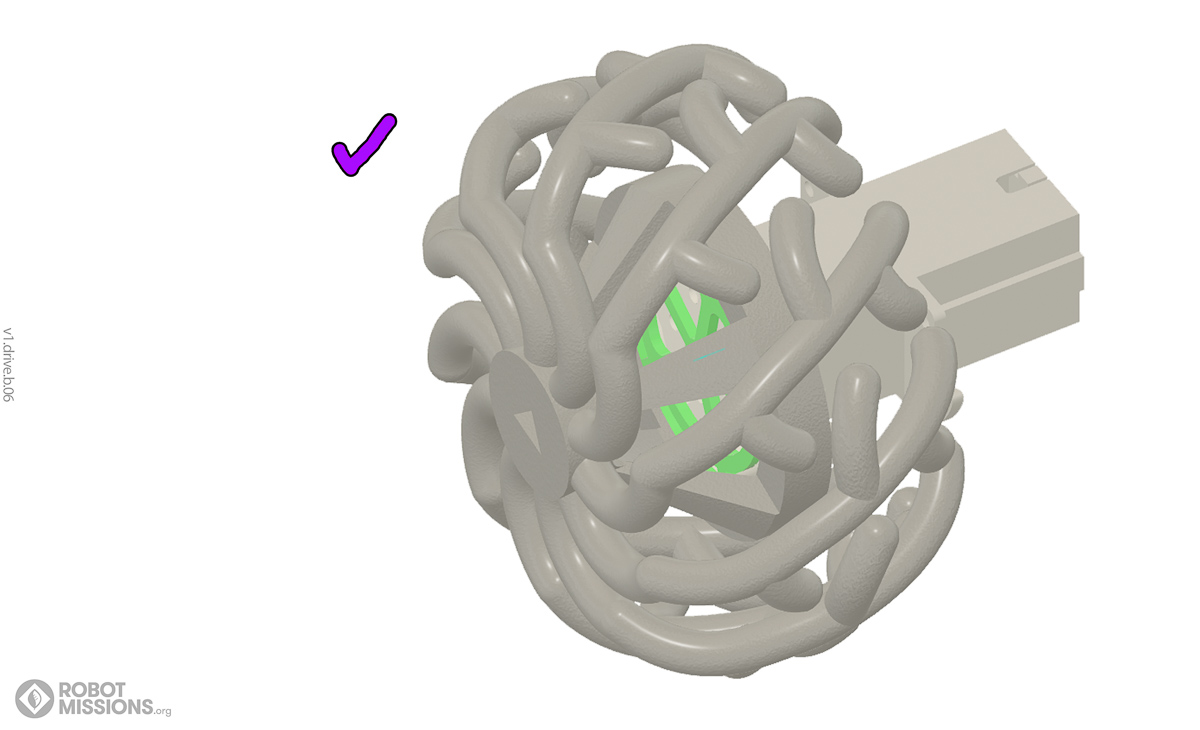
Success! Now that you have a wheel complete, repeat this to make 4 wheels total.
| ← Motor enclosure | Drive system → |