Select Page

5. Flexidisk suspension

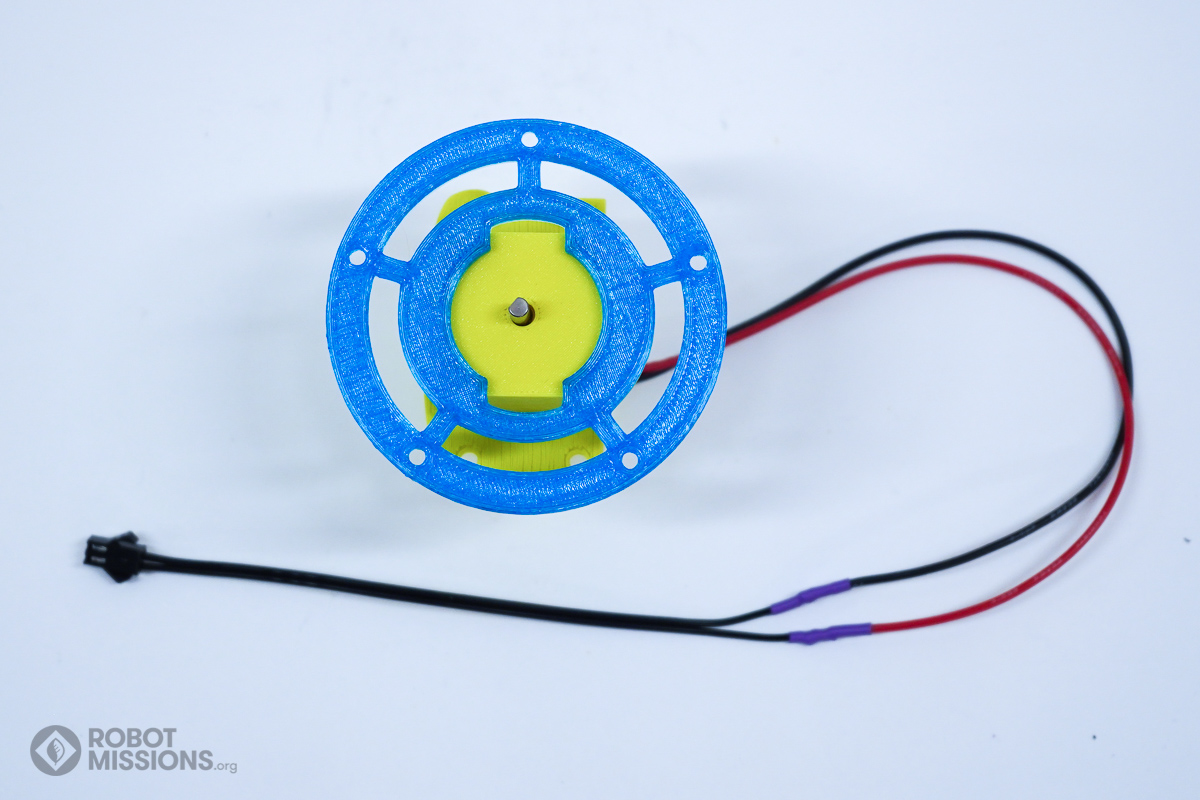
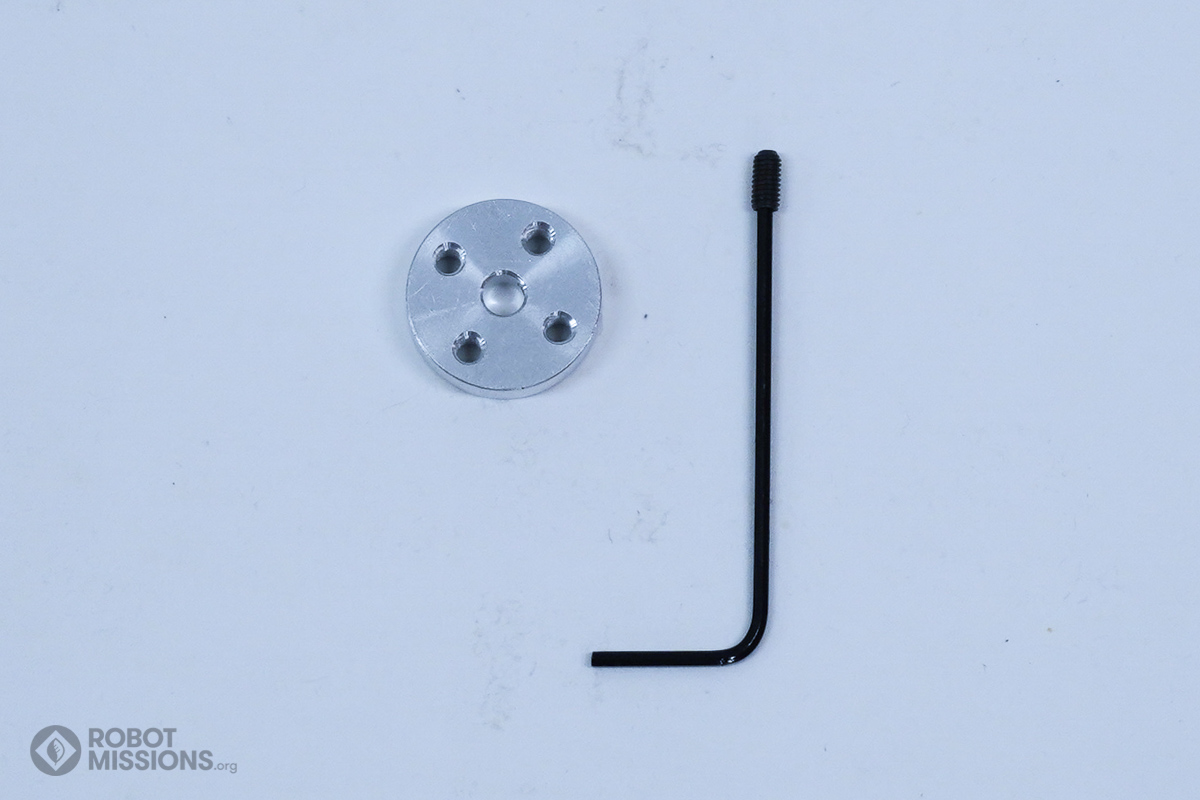
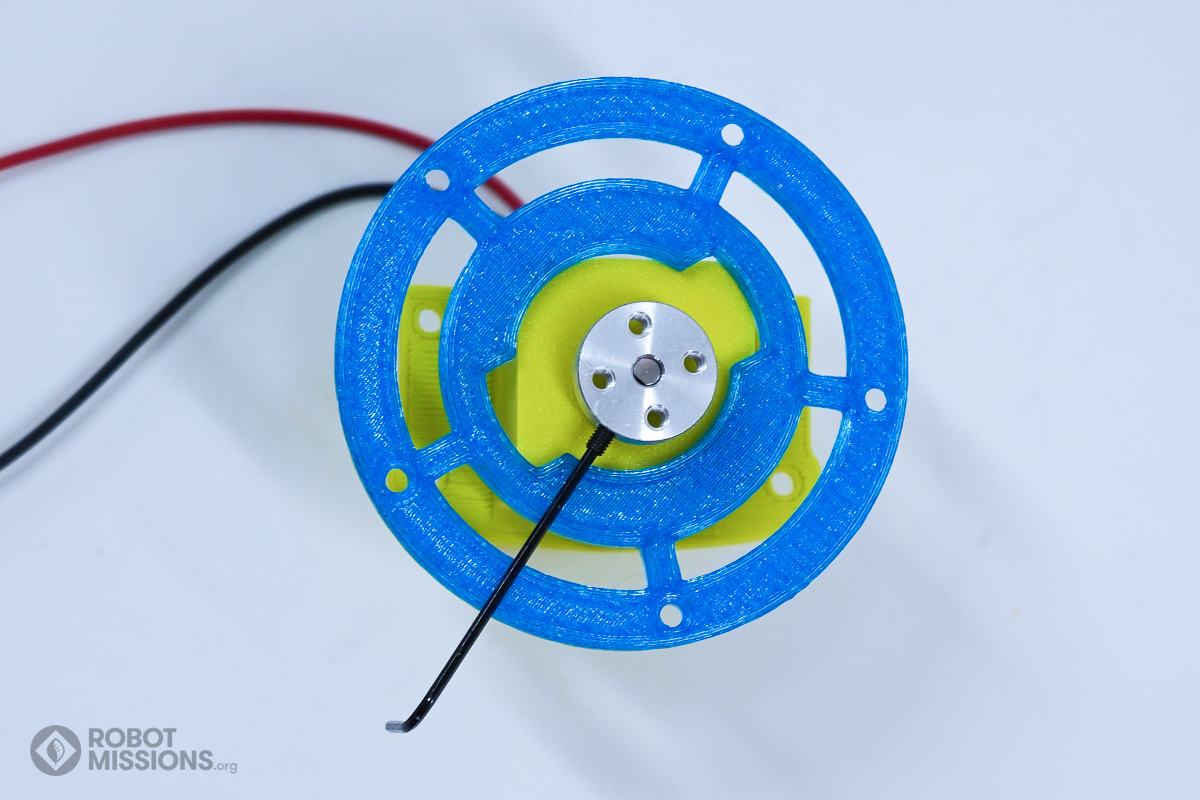
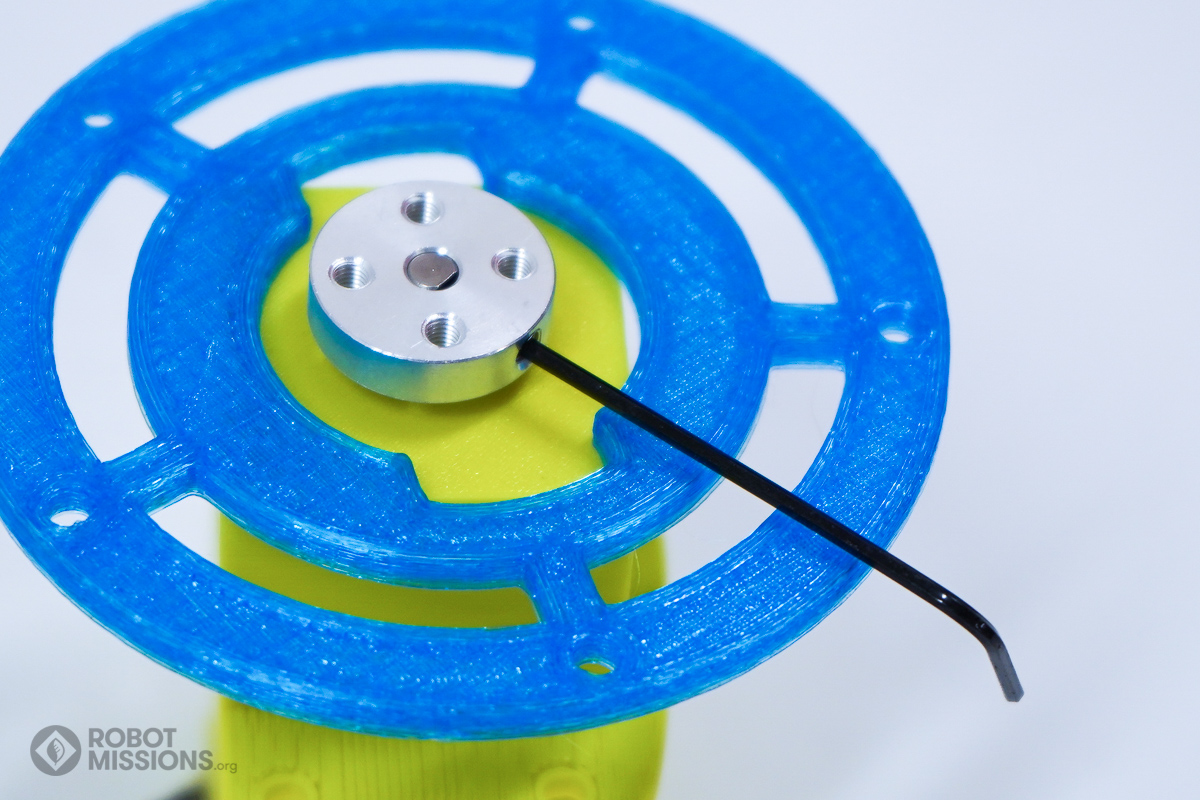
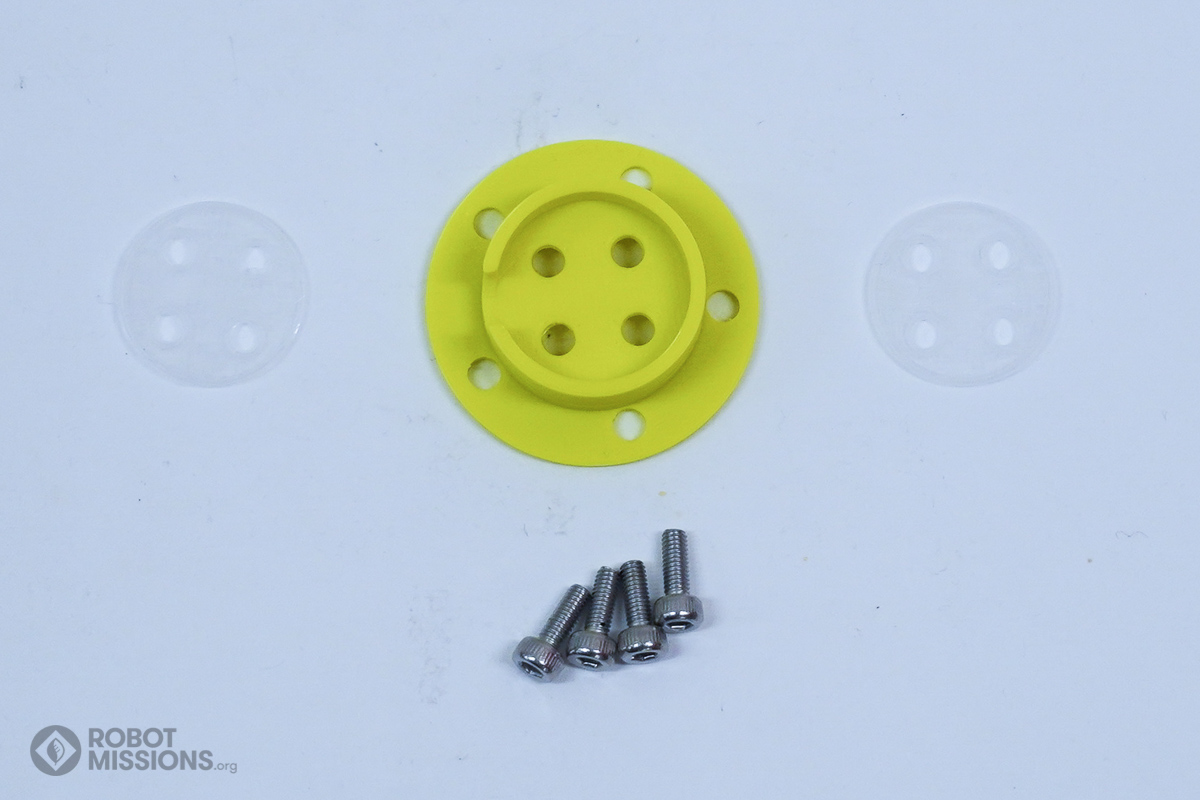
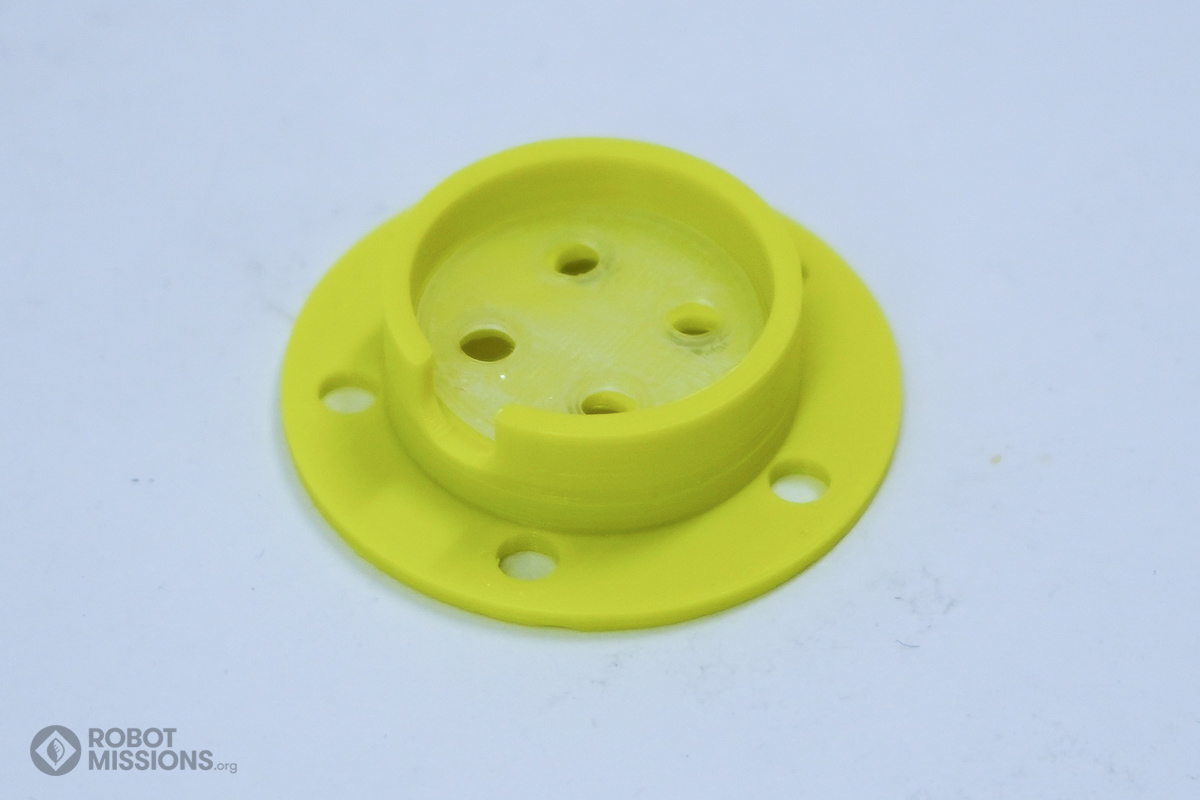
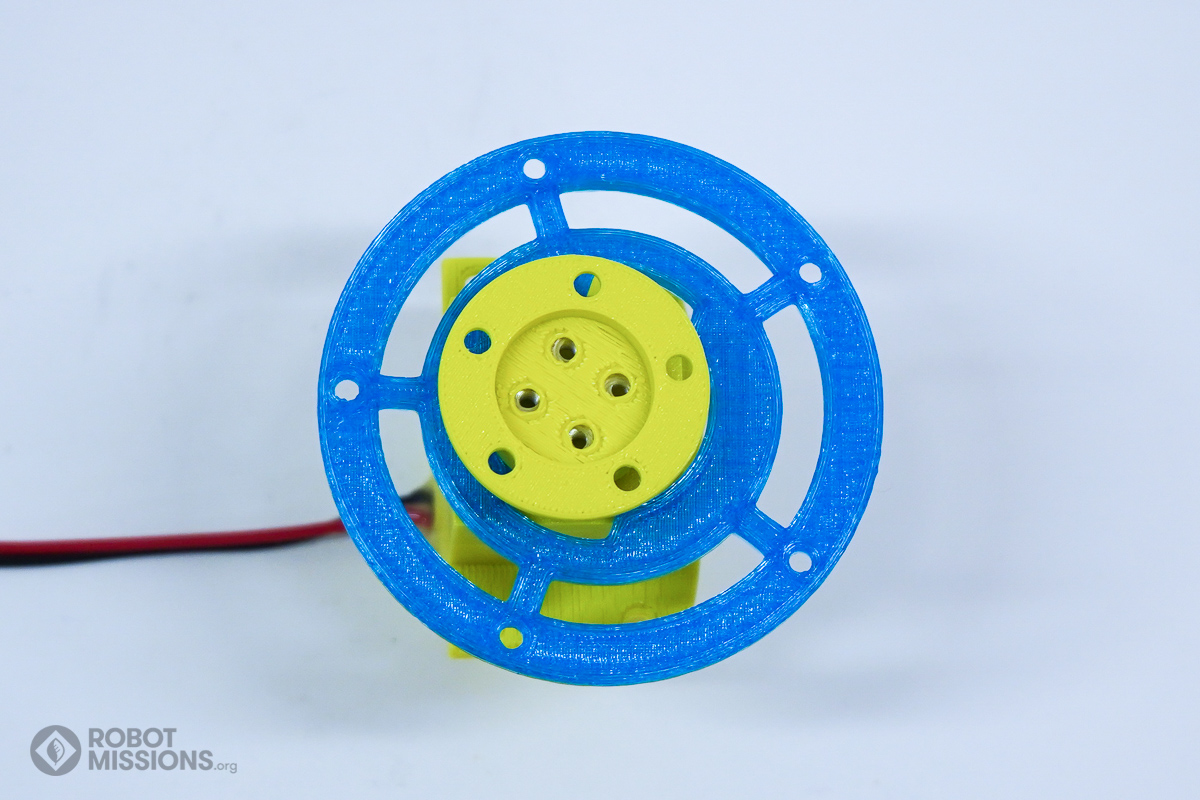
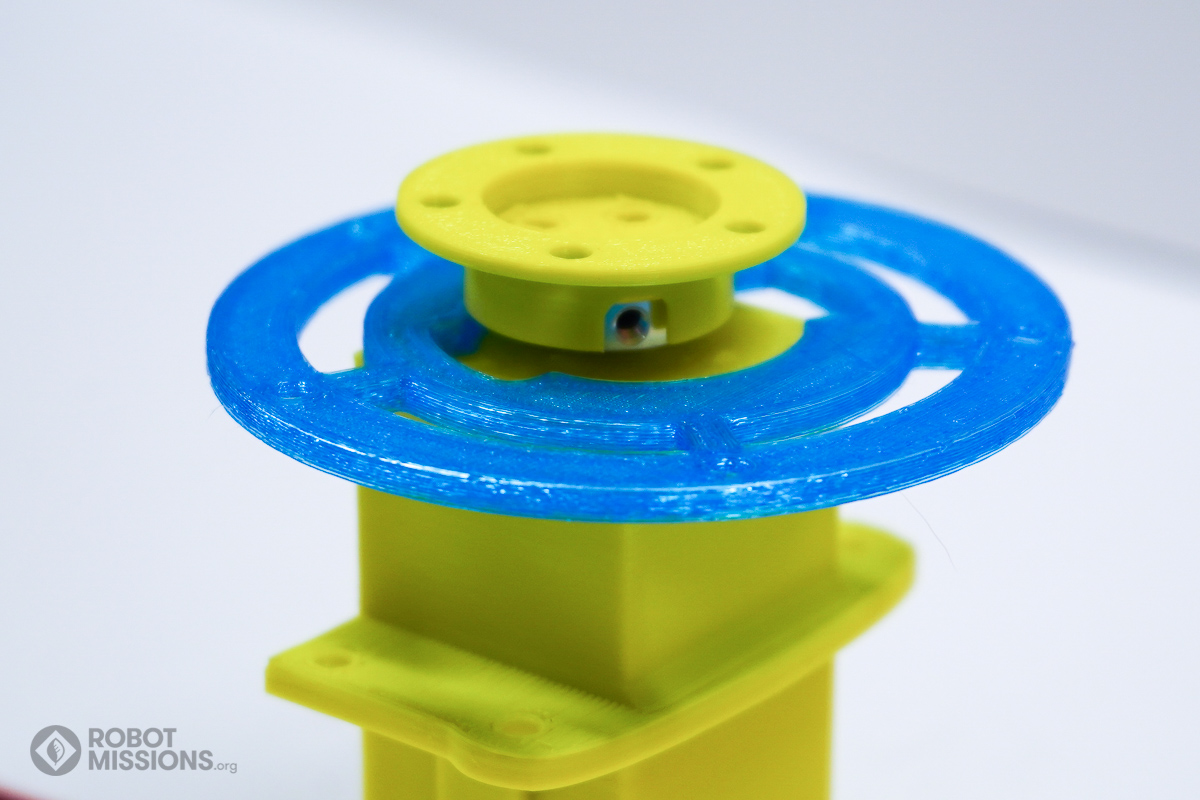
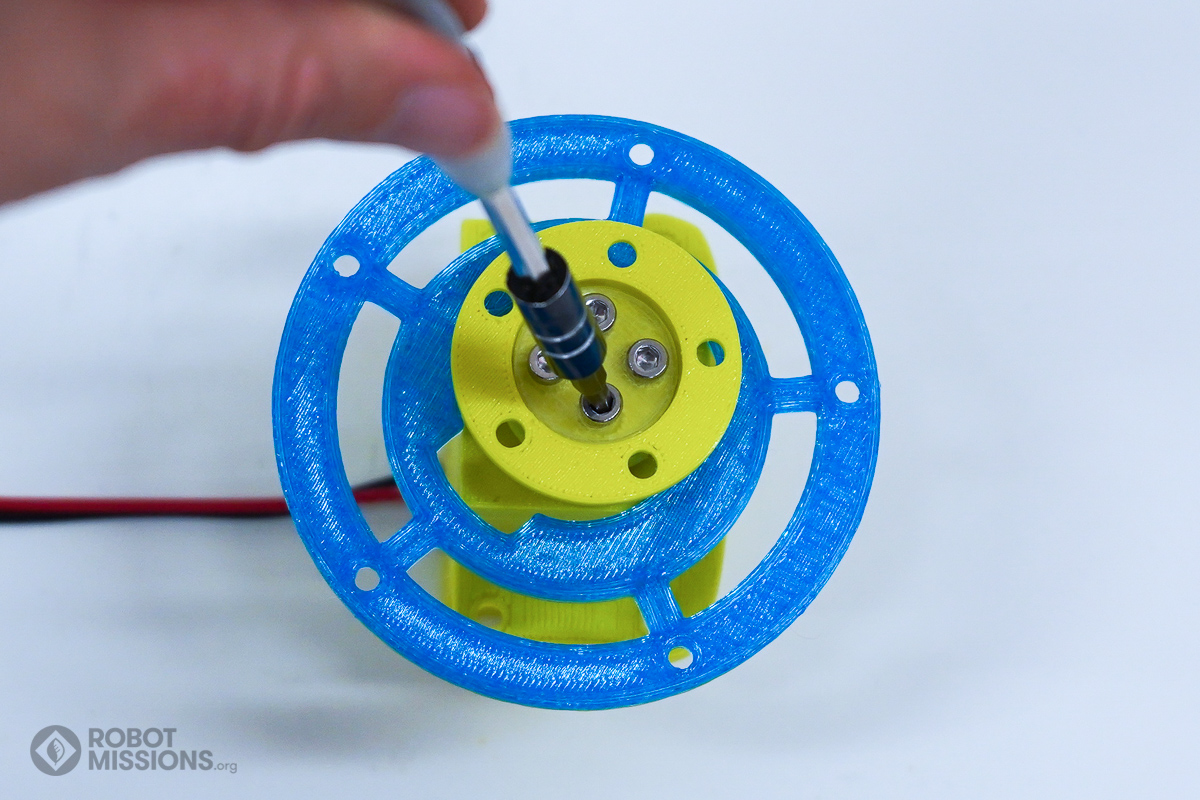
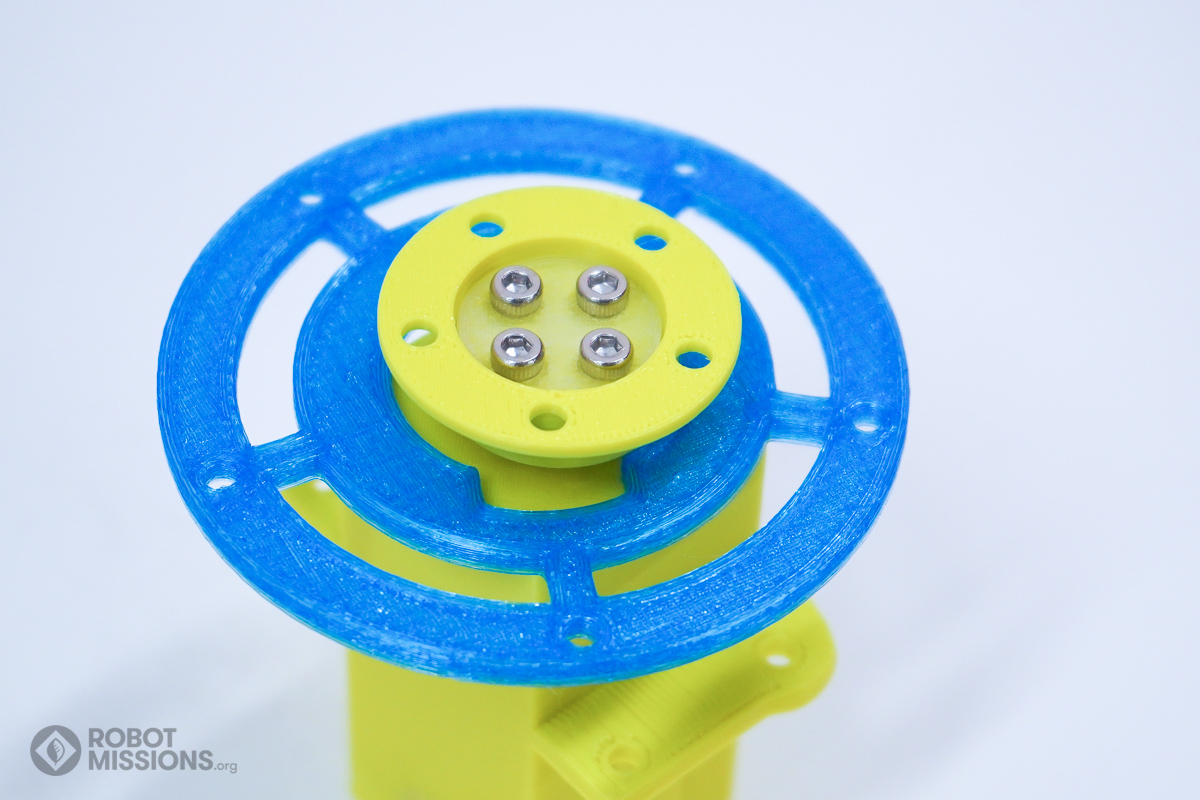
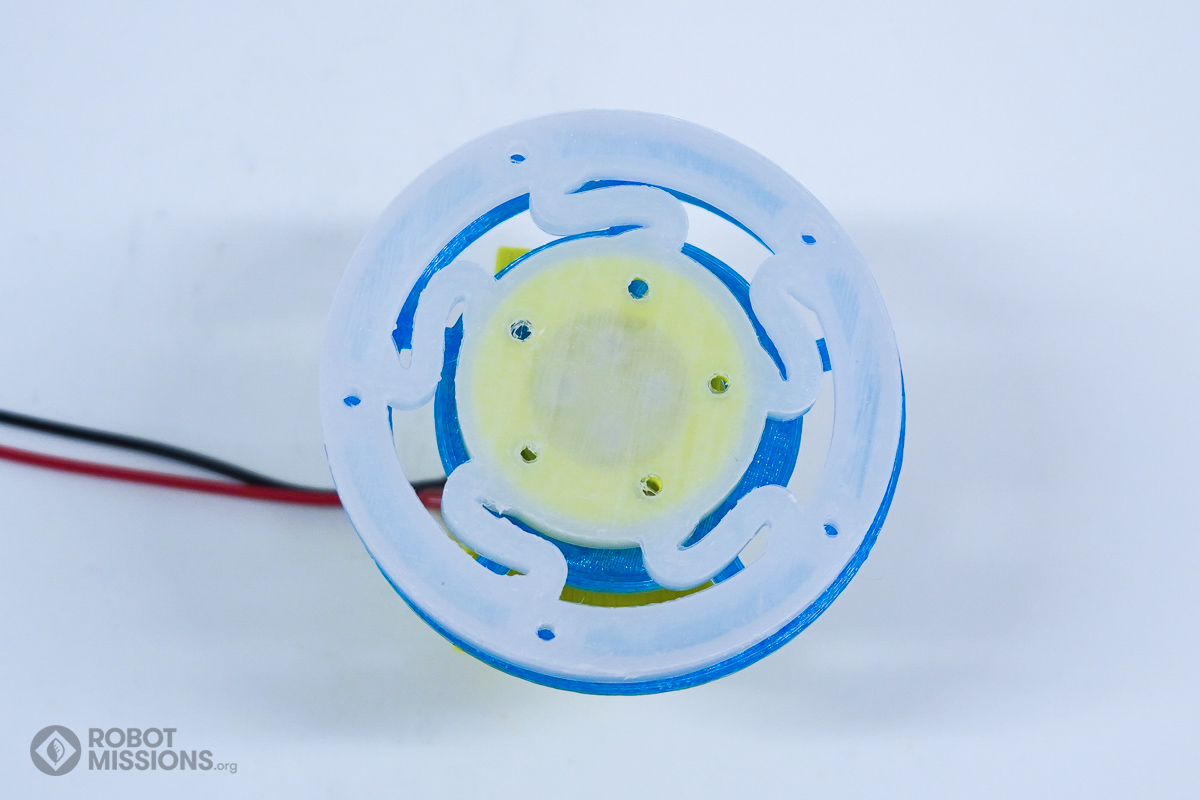
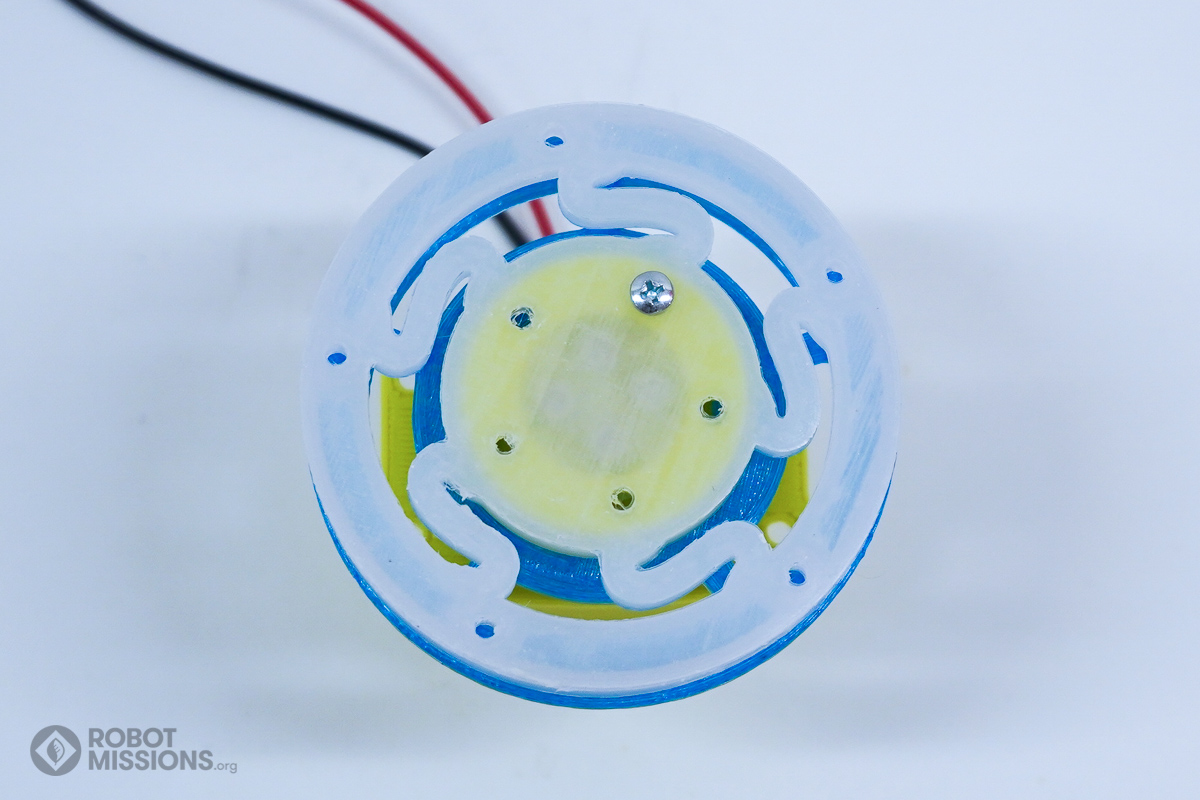
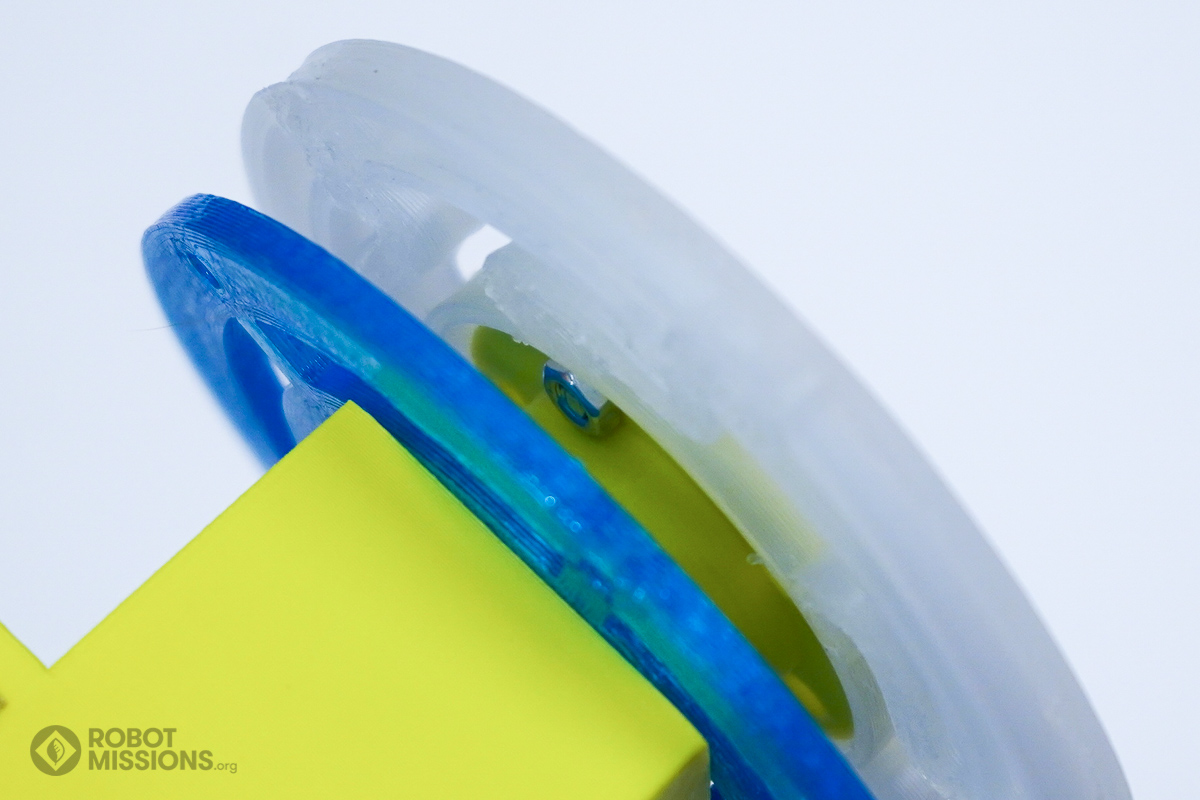
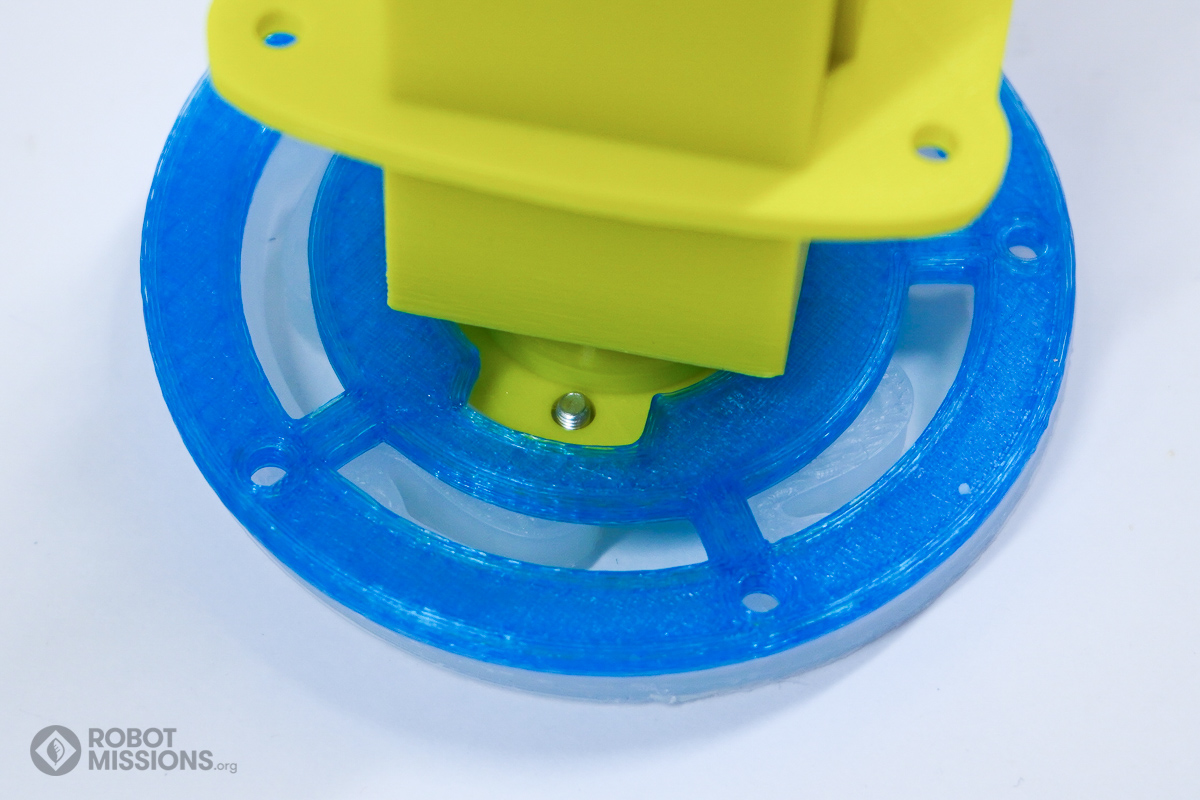
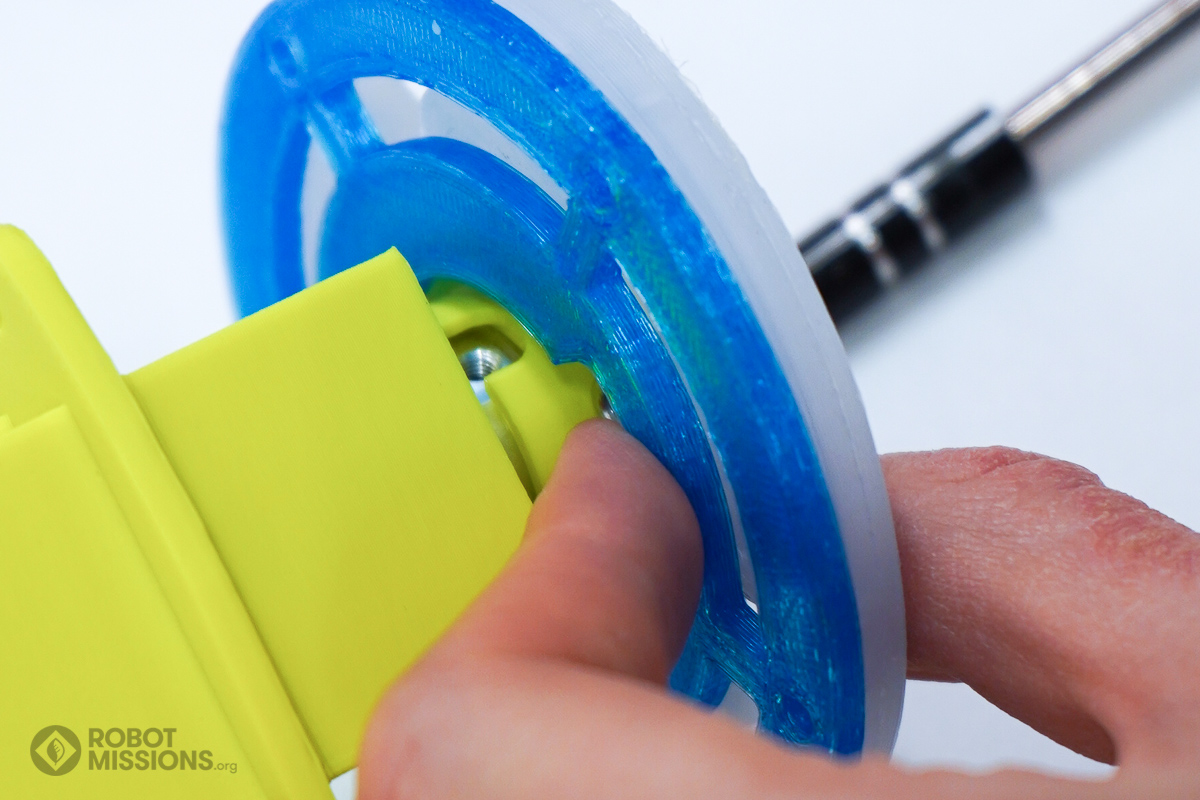
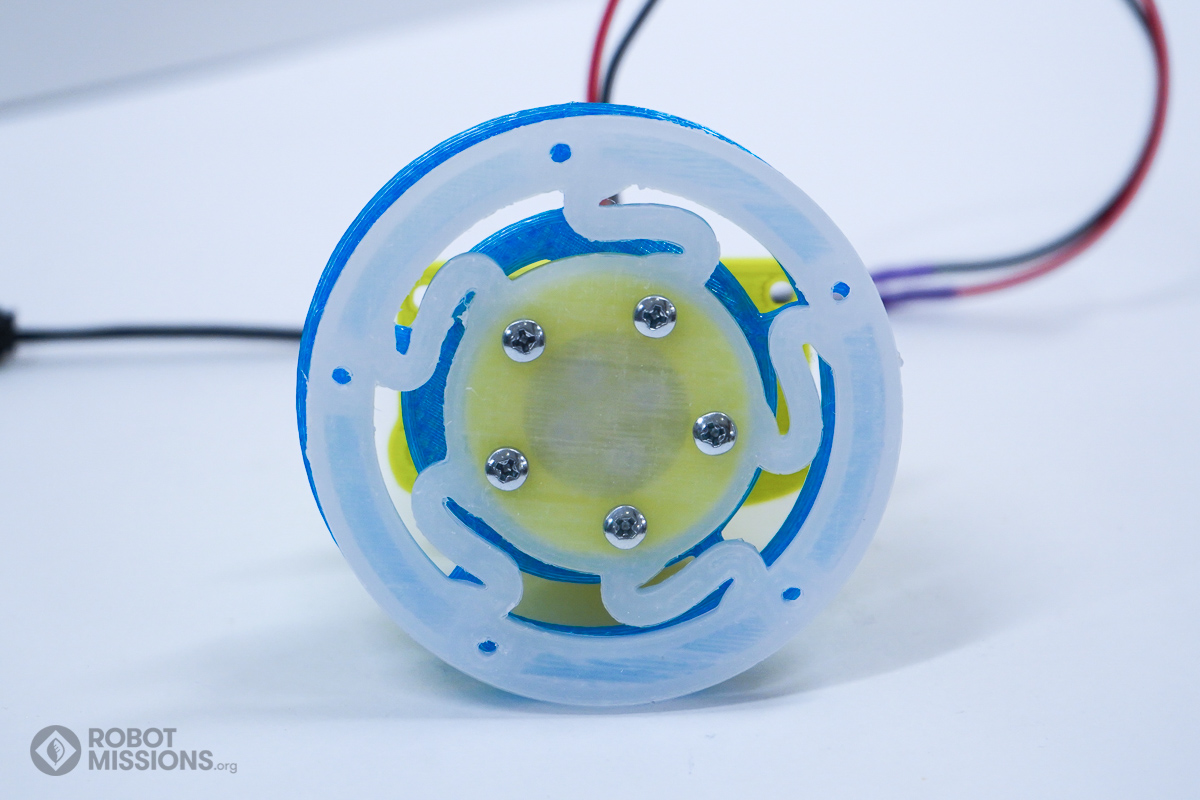
Time to add the piece that absorbs the mechanical shock of small jolts to the wheel. This is the flexidisk! In this part we will be adding the motor hub attachment piece, then fastening the flexidisk to that. This is the part that will be very tedious and will require much patience. Best to take your time on this one. For this part you will need the two small flexi disks, the larger flexidisk, the motor hub attachment piece, 4x M3 8mm screws, and 5x M3 5mm screws and hex nuts. As well as the metal motor hub, its set screw, and allan key. All of these fasteners would be best to have blue threadlock on them, unless you plan on disassembling it without using it as a robot first.

Place the back disk onto the front of the motor enclosure, going through the motor shaft.

Obtain the motor hub, set screw, and allan key. At this stage, you will likely want to apply blue threadlock onto the set screw.

Insert the motor hub onto the motor shaft. Ensure the set screw lines up with the flat on the motor shaft.

Tighten the set screw so that it is securely holding the motor hub into place.

Obtain the motor hub attachment piece, the two flexi disks, and the 4x M3 8mm screws.

Apply one of the flexi disks onto the motor hub attachment piece. This one will go onto the smooth side, as seen in the photo.

Flip this piece to mount onto the motor hub. Align it so that the holes line up.

Ensure the small opening is where the set screw is located.

Apply the second flexi disk onto the top of the motor hub attachment.

Apply blue threadlock to the screws, and insert them into the motor hub.

Here’s how it should look when complete. Tighten the screws enough, but not too much as to break the plastic.

Obtain the larger flexi disk, and place it over the top of the motor hub attachment piece. Ensure the holes line up.

Also obtain 5x M3 5mm screws, and 5x M3 hex nuts from the kit.

Apply blue threadlock, and insert one of the 5mm screws.

The goal is to attach a hex nut onto the 5mm screw. In the next steps we’ll show some tricks to how we did it.

Position the motor and back disk so they both align like this with the opening.

Hold the hex nut with your finger, while driving the screw with your other hand.

Follow this process until all 5 are complete. Remember to add the blue threadlock to each screw.
← Enclosing motor part B Wheel →

Page last updated on: Sat Jan 18 20:41:58 2020