To continue of the previous part, in this part we will be taking the first enclosure and inserting it into the second enclosure. For this step, you will need hot glue, and the motor enclosure pieces.
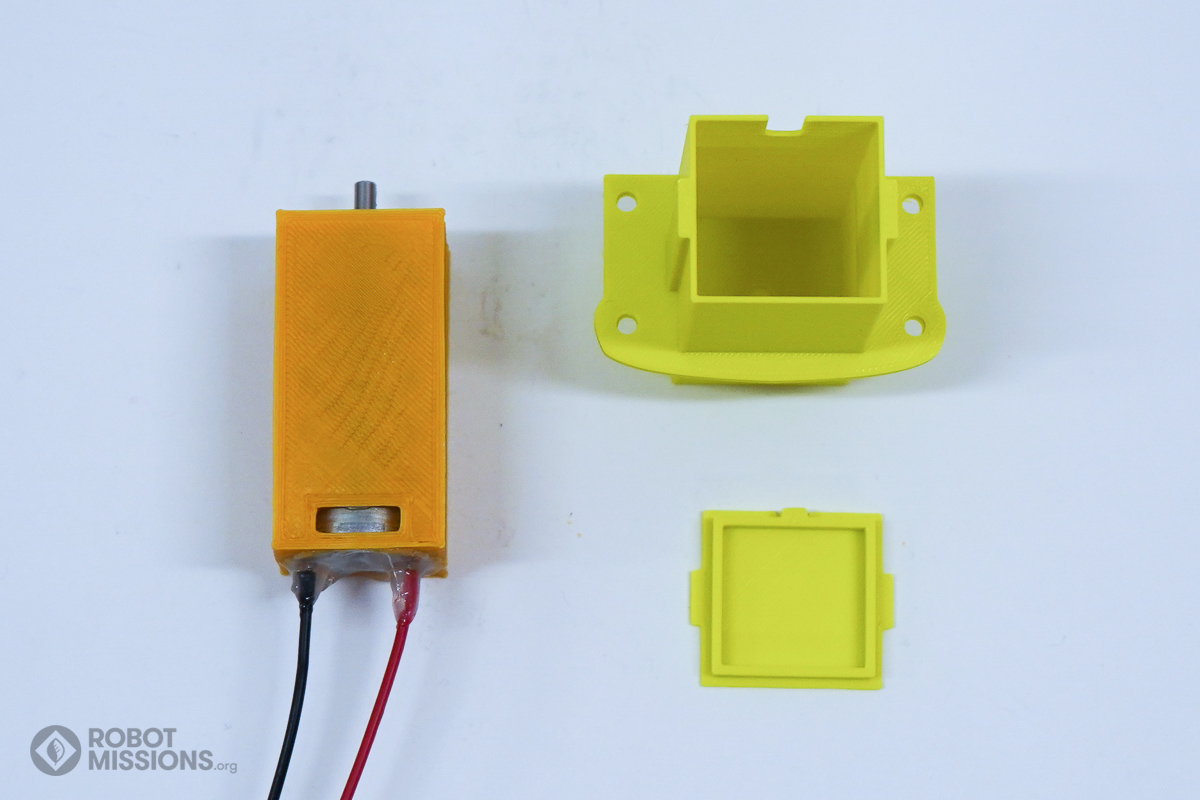
Obtain the motor enclosure 3D printed piece and the back cover.
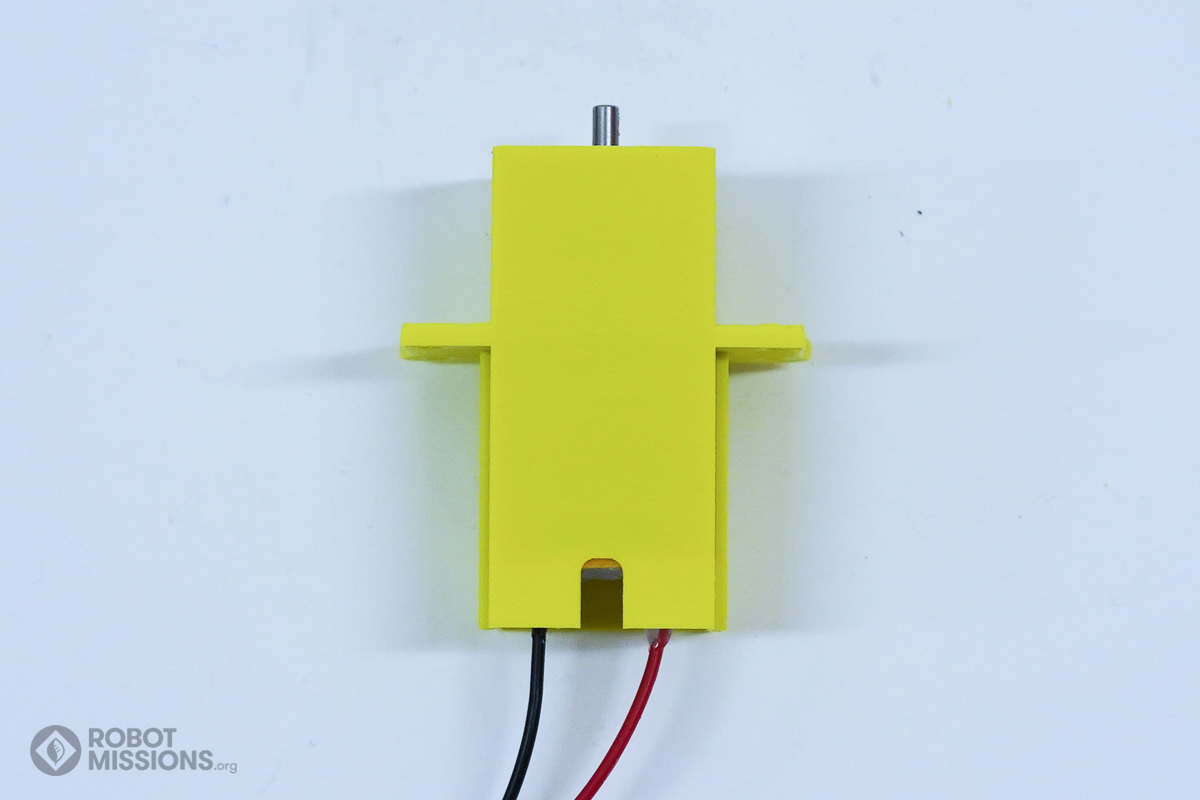
Insert the motor sled assembly into the motor enclosure.
The shaft of the motor should extend through the motor enclosure.
Move the motor wires to bend and go through the opening nub area.
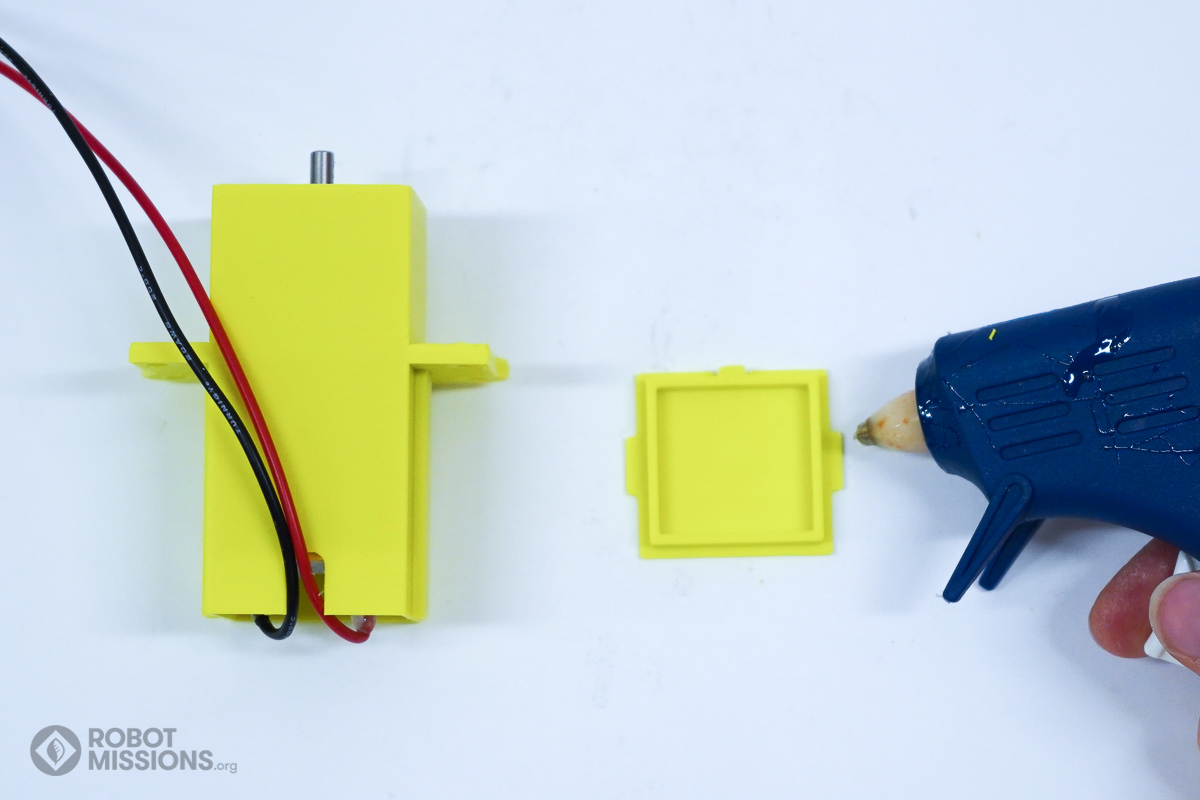
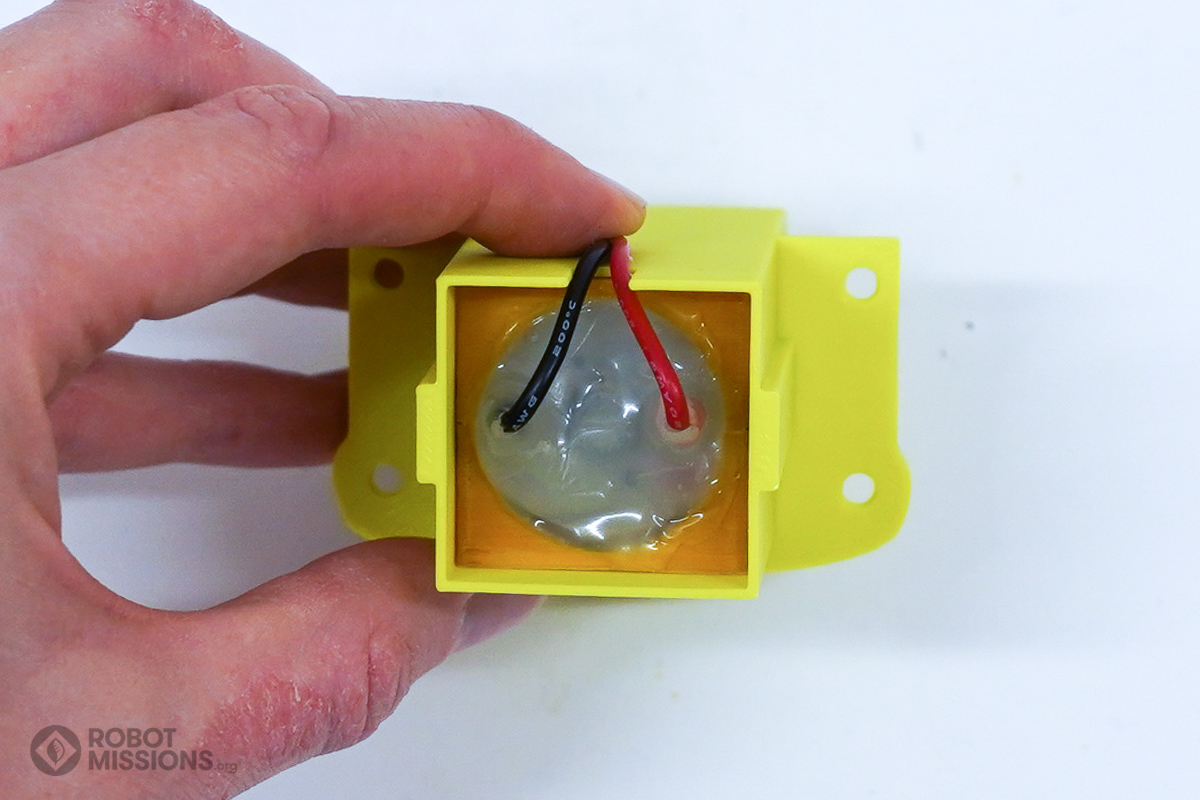
Apply hot glue to the outer perimeter of the motor enclosure back piece.
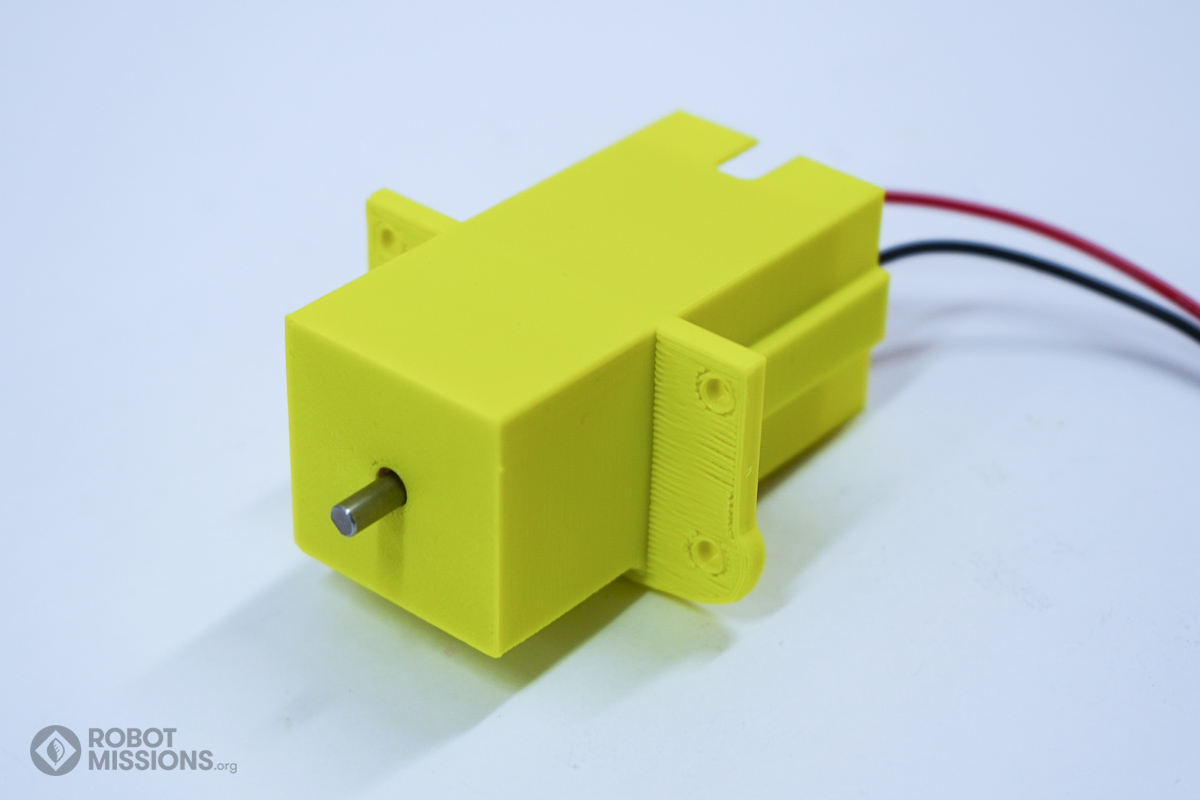
Attach the motor enclosure back piece onto the motor enclosure.
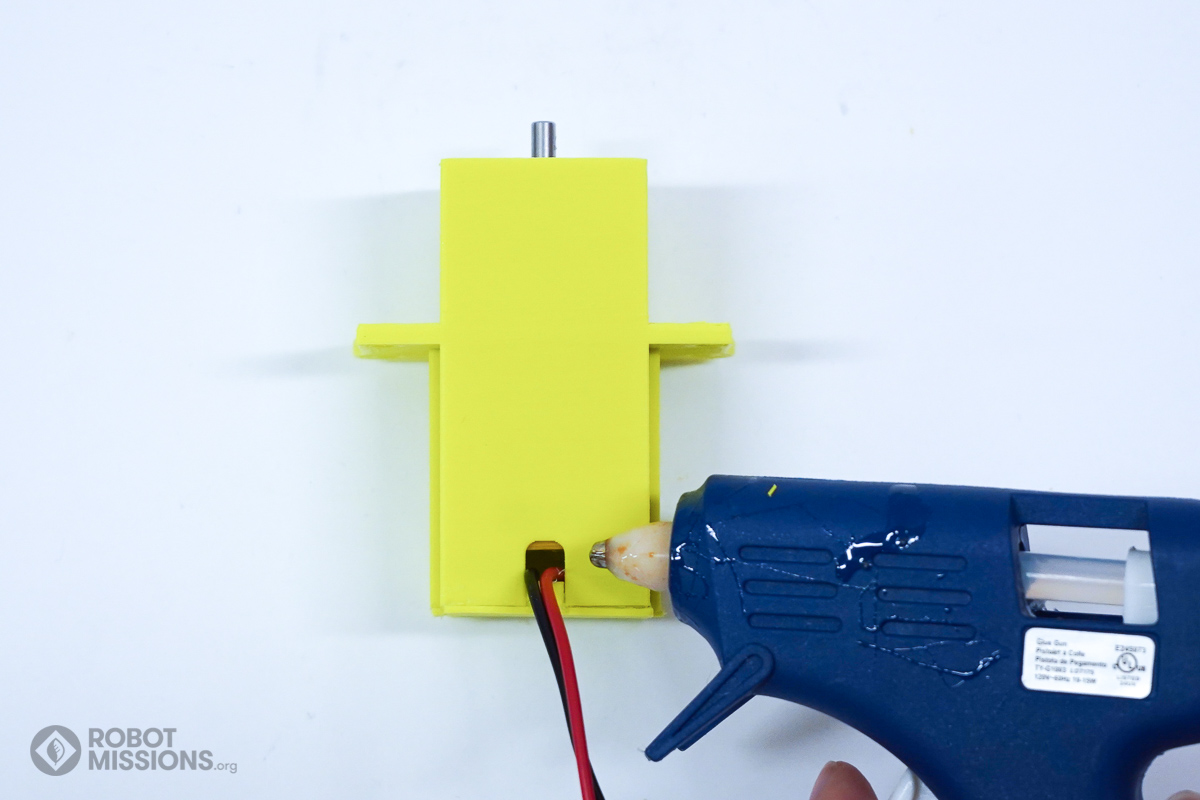
Fill in the opening where the wires are extending from with hot glue.
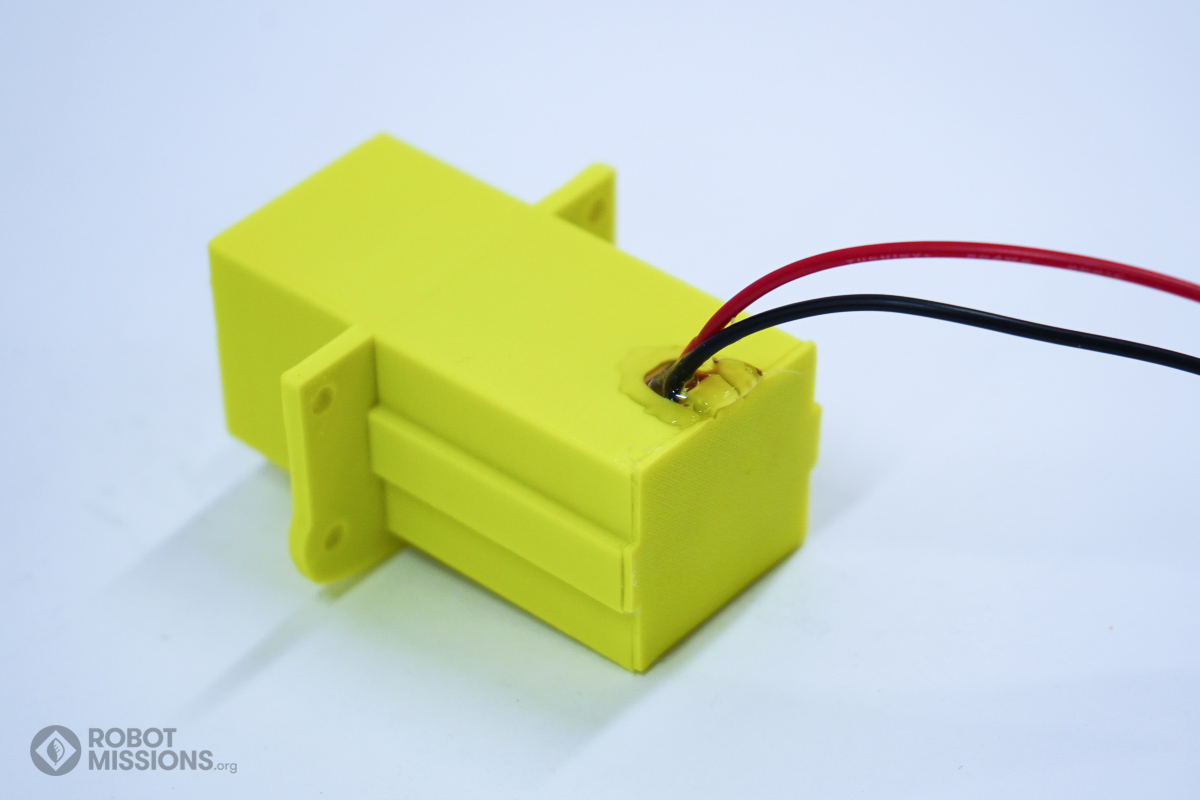
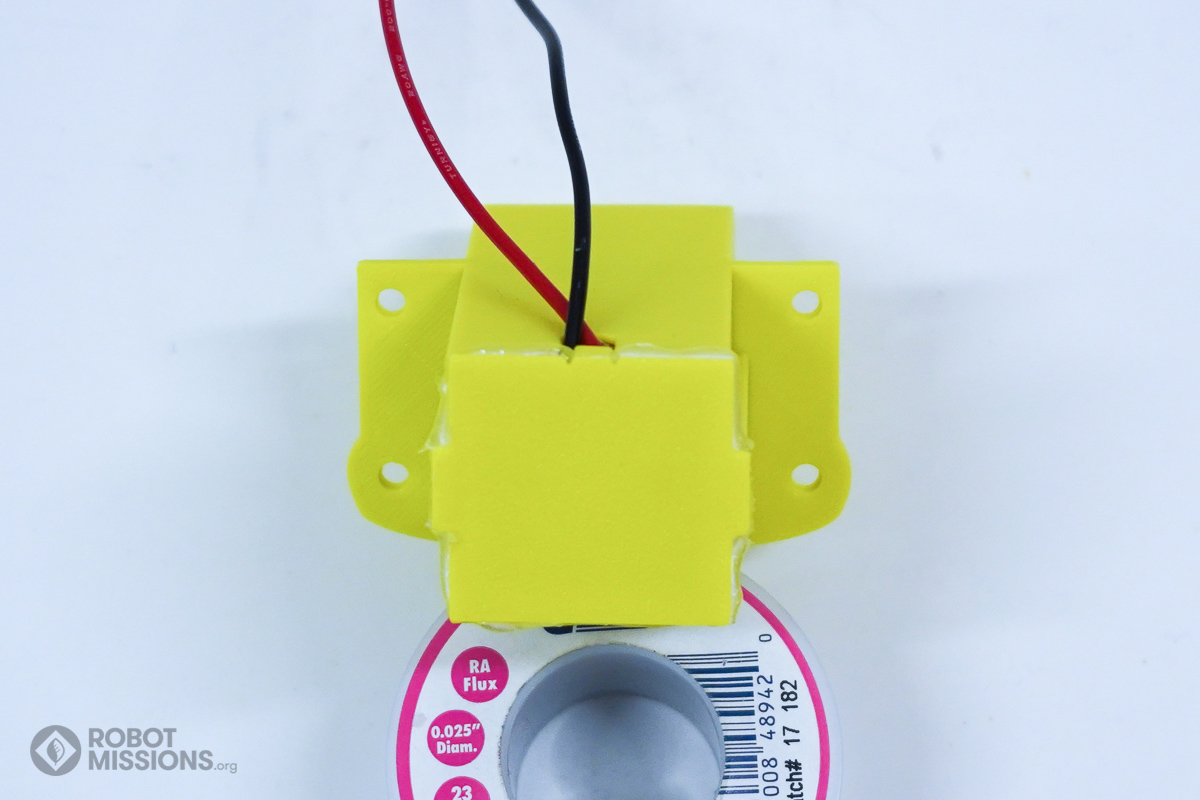
Here’s how the back of the motor enclosure should look.
| ← Enclosing motor part A | Flexidisk suspension → |