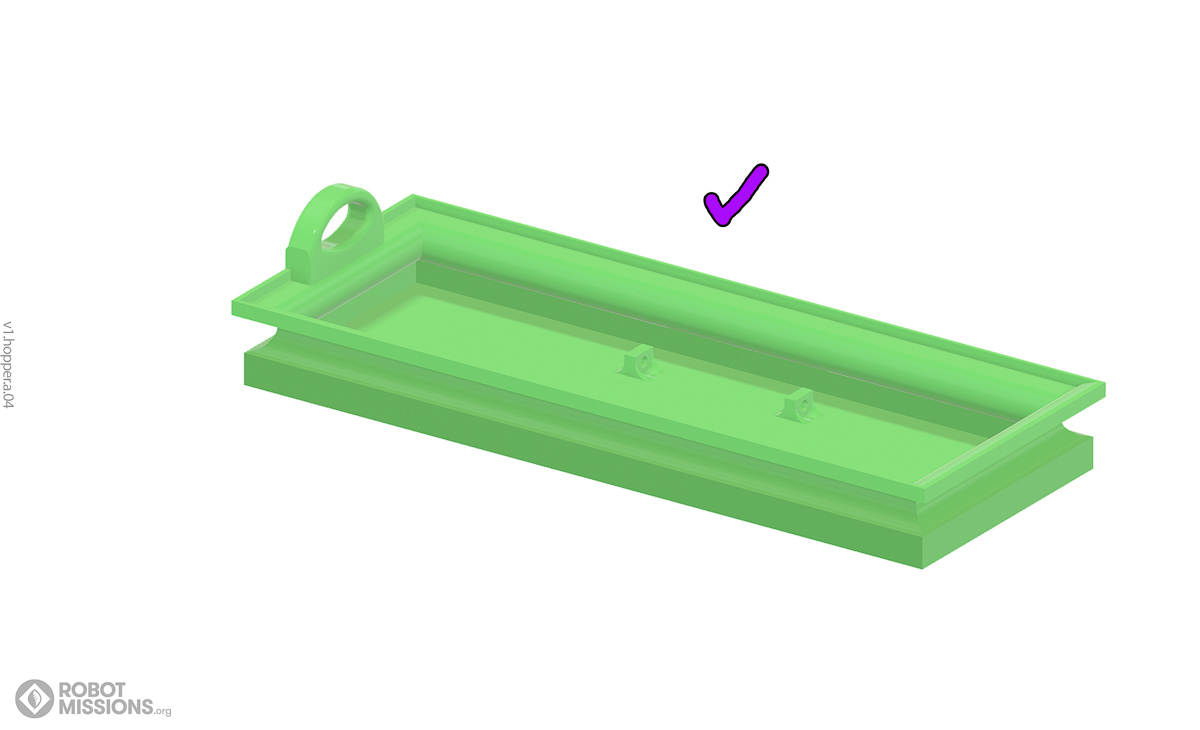
Welcome to assembling Bowie’s hopper. This is where the garbage will be deposited. Sometimes sand, too. In these steps you will be guided on assembling the tray and mount. In the steps following, it will be about the sides, then the lid and mount. All of these pieces will then be added onto the top of the Bowie chassis in the integration step.
*Note: If you plan on driving your Bowie around a lot (who wouldn’t?) we recommend blue thread lock on the fastener threads. It’s possible some pieces may require sanding.
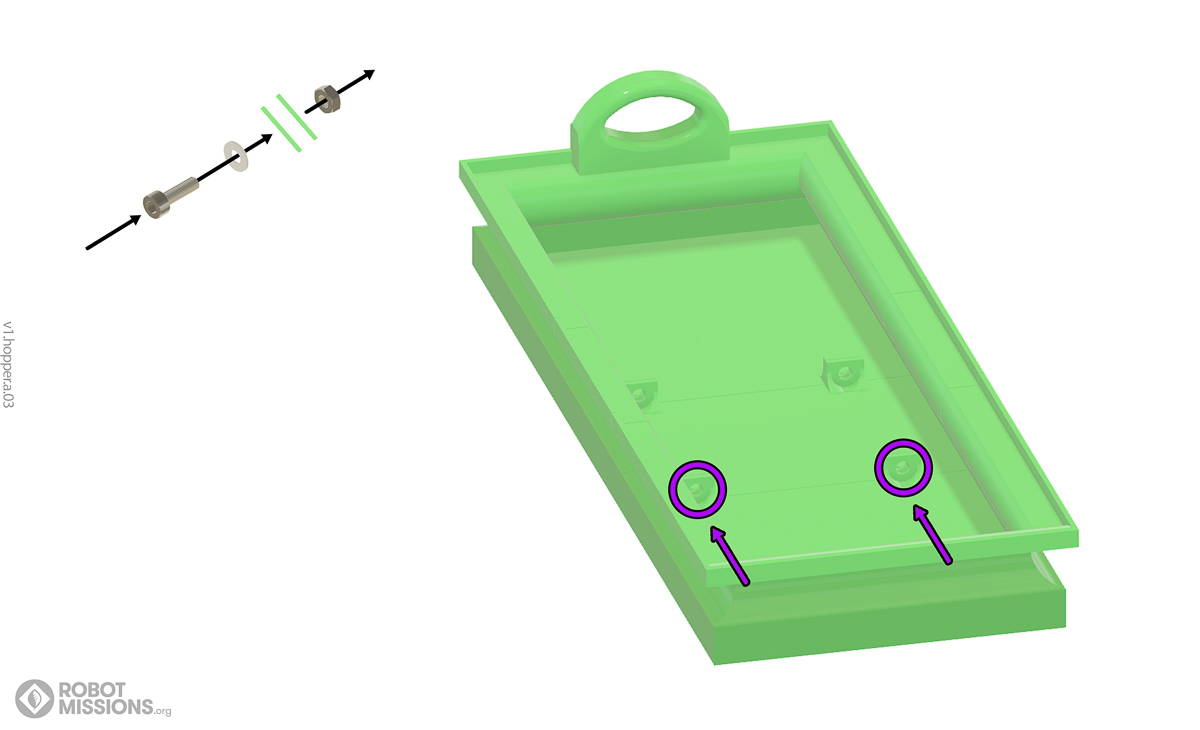
Fasteners required
- 4x M3 10mm
- 4x M3 washers
- 4x M3 hex nuts
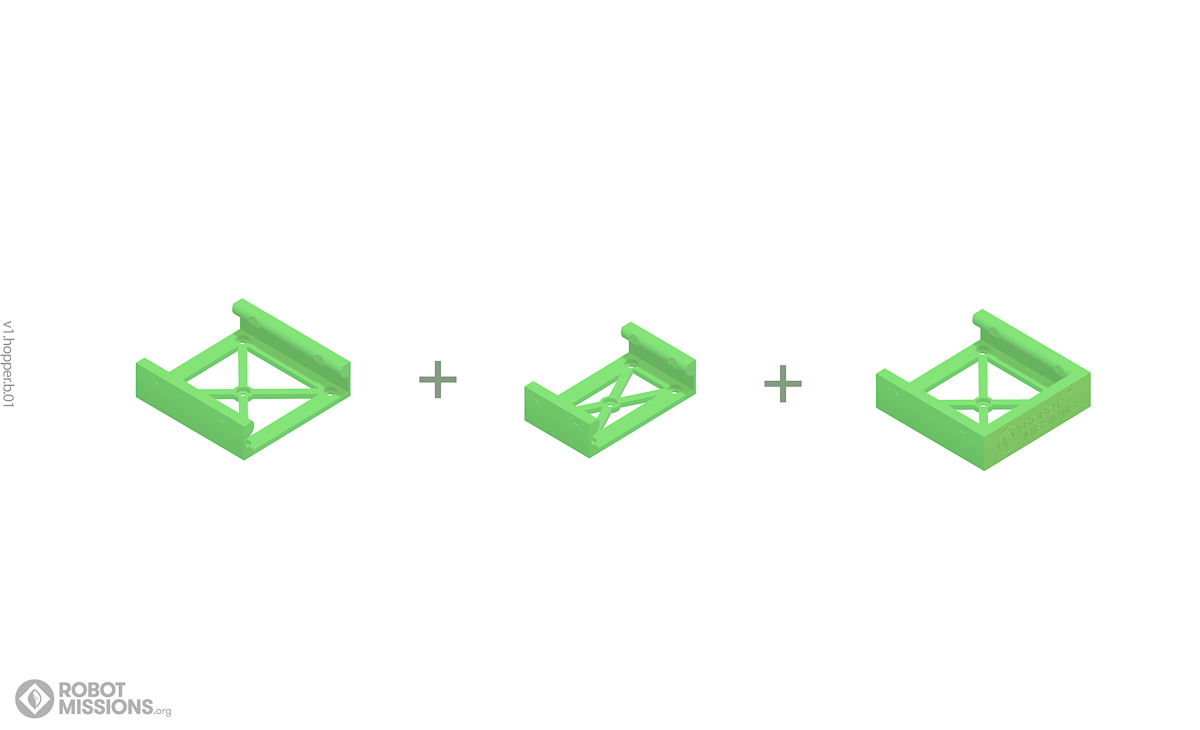
Pieces required – Check out the pieces page for what to print! (Coming soon)
If you ever need a to see what you are working on, feel free to go back to the splash page, where there is an interactive 3D model viewer there.


| Home | Sides → |