In this part we will be adding the supporting ‘walls’ to the hopper mount. These form the sides of the container where the garbage goes. Pay attention to the orientation of the pieces, and it will make for a smoother assembly process.
*Note: If you plan on driving your Bowie around a lot (who wouldn’t?) we recommend blue thread lock on the fastener threads. It’s possible some pieces may require sanding.
Fasteners required
- 14x M3 10mm
- 14x M3 washers
- 14x M3 hex nuts
Pieces required – Check out the pieces page for what to print! (Coming soon)
If you ever need a to see what you are working on, feel free to go back to the splash page, where there is an interactive 3D model viewer there.
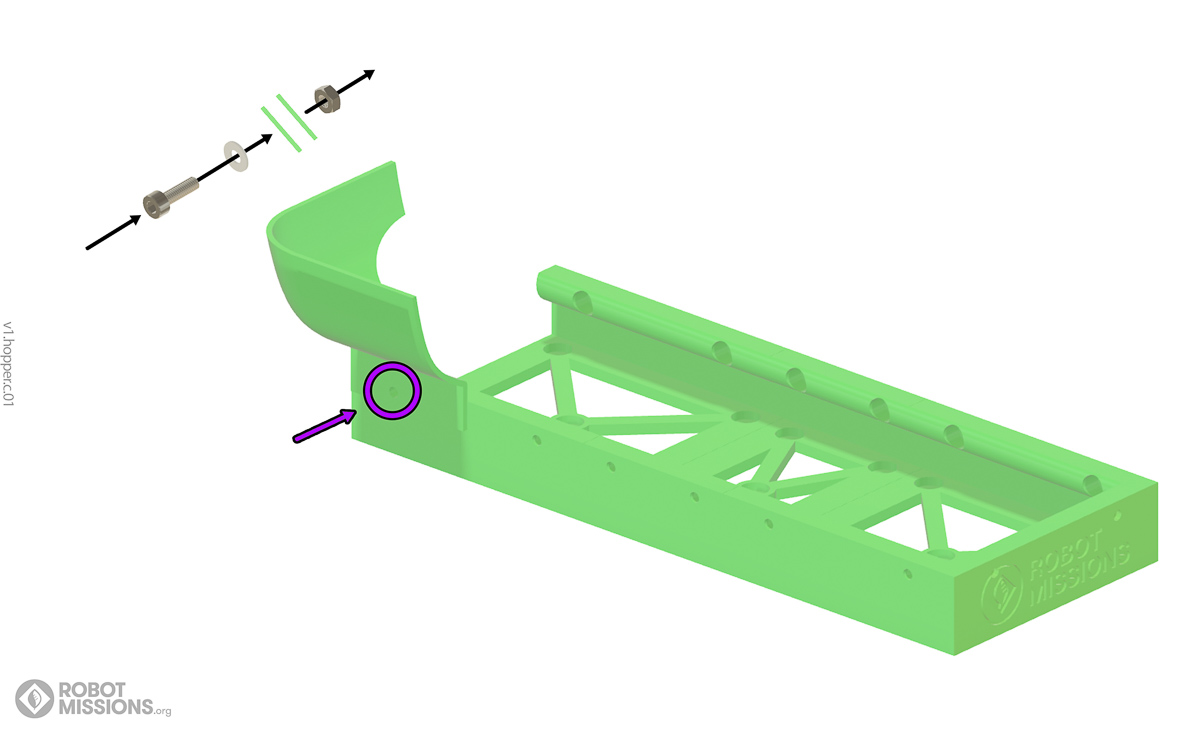
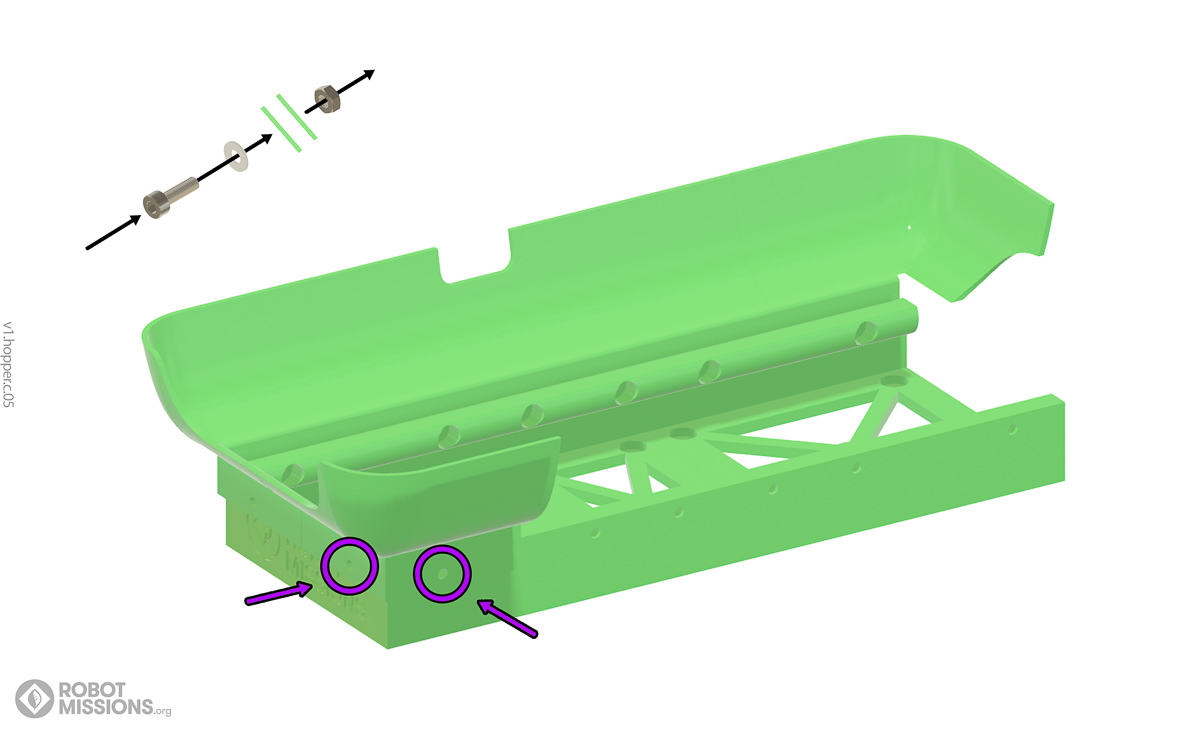
Get your back left hopper corner and attach it to the left motor hopper with 1x M3 10mm screw.
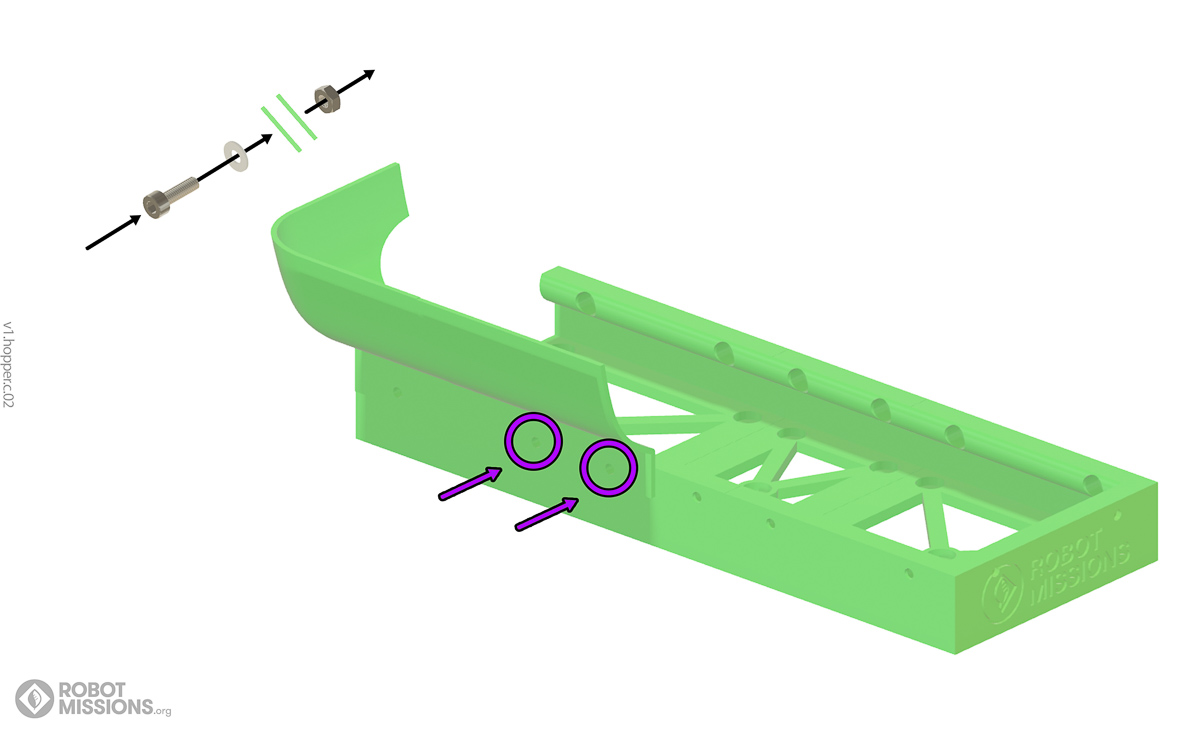
Next get your back left hopper piece and attach it to the left motor mount and middle motor mountwith 2x M3 10mm screw
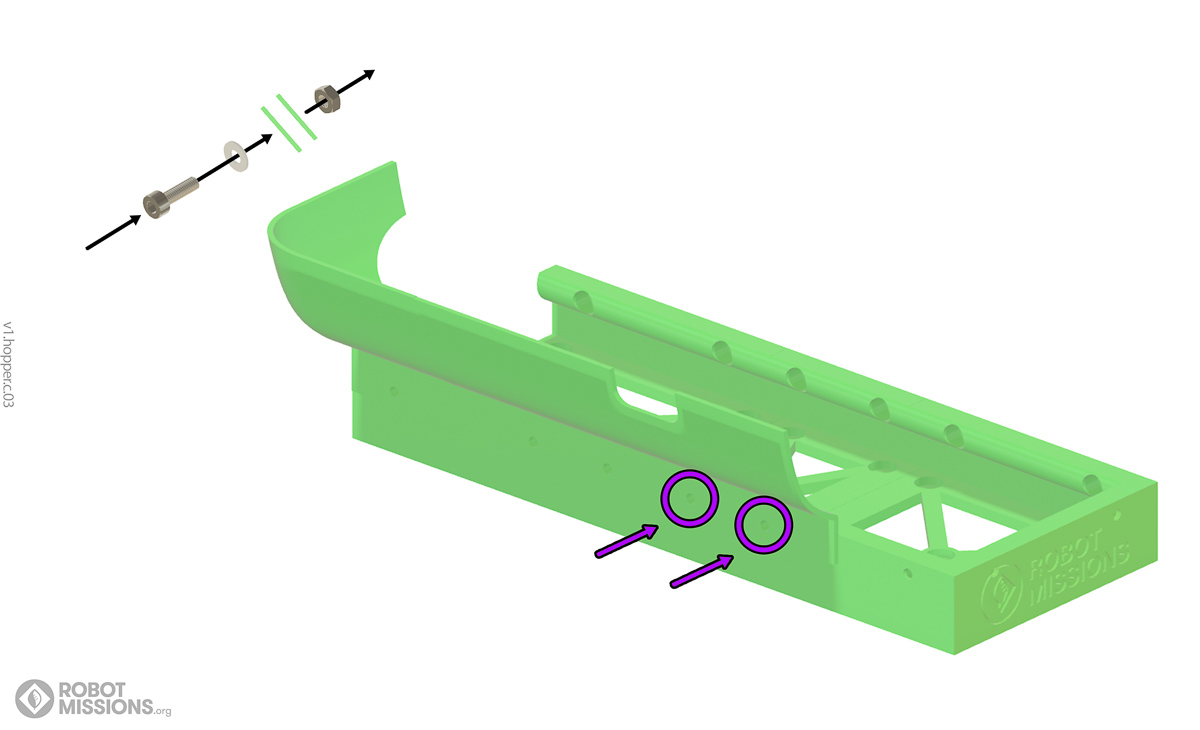
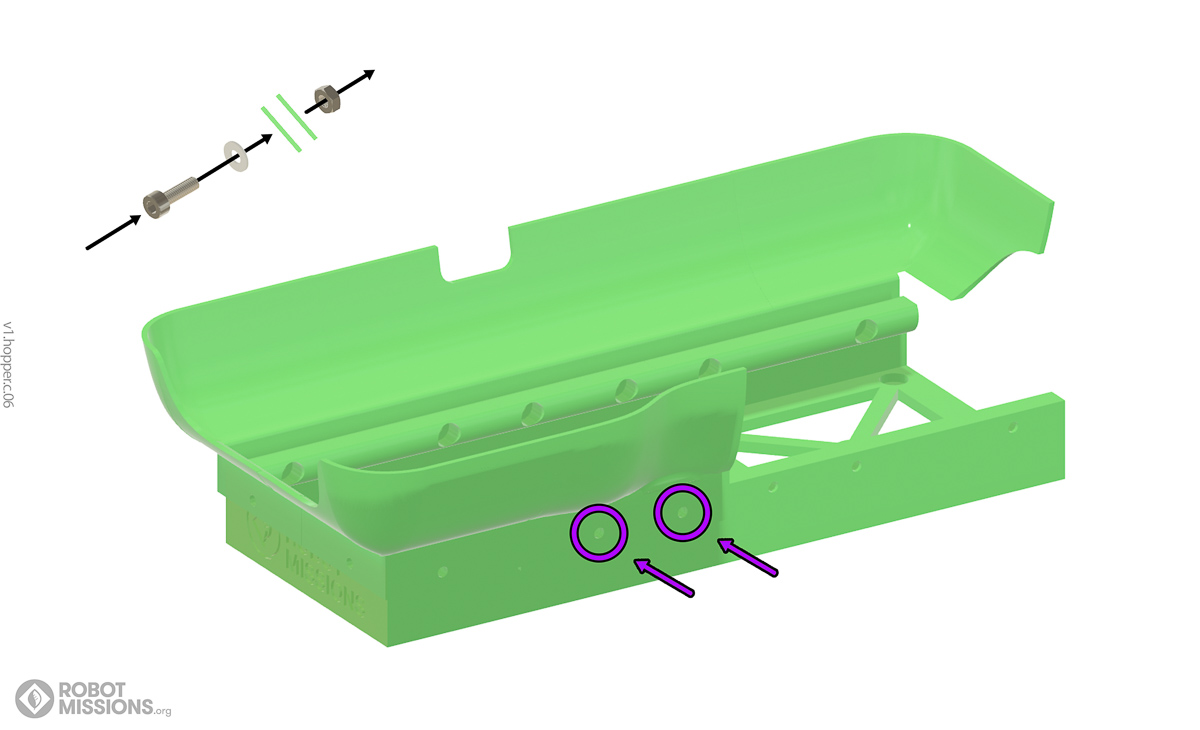
Get your back right hopper piece and use 2x M3 10mm screws to attach it to the middle motor mount and right hopper mount.
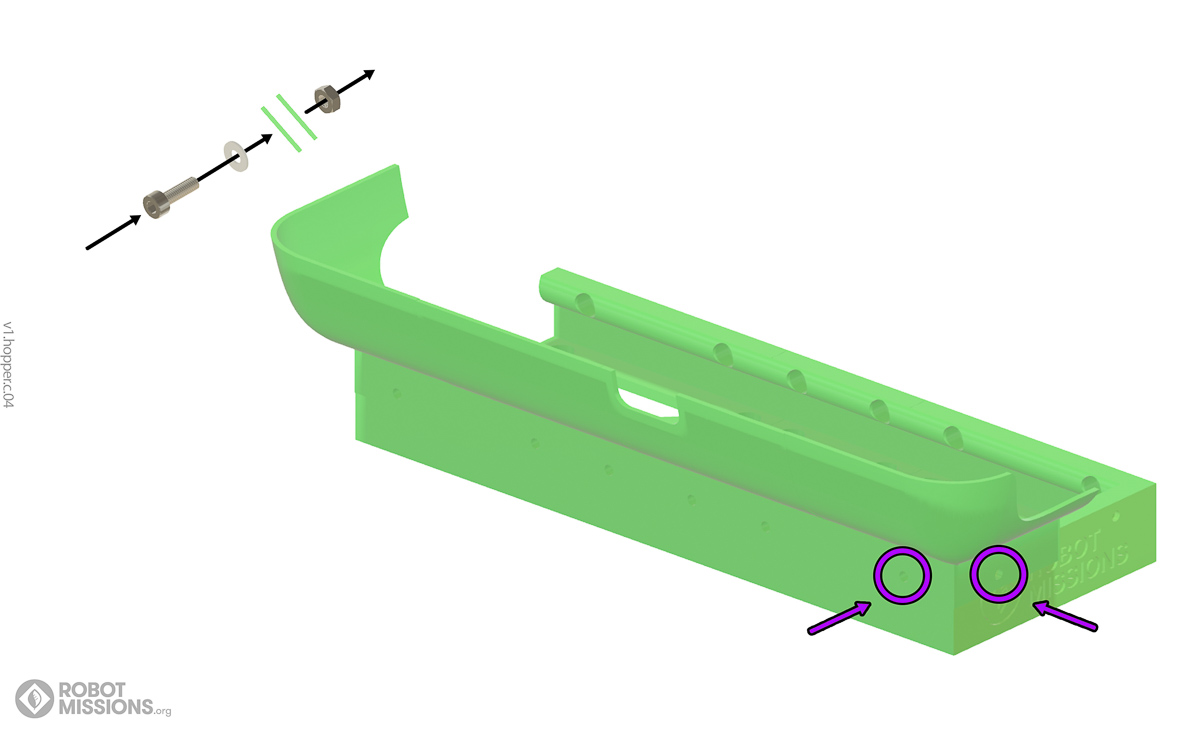
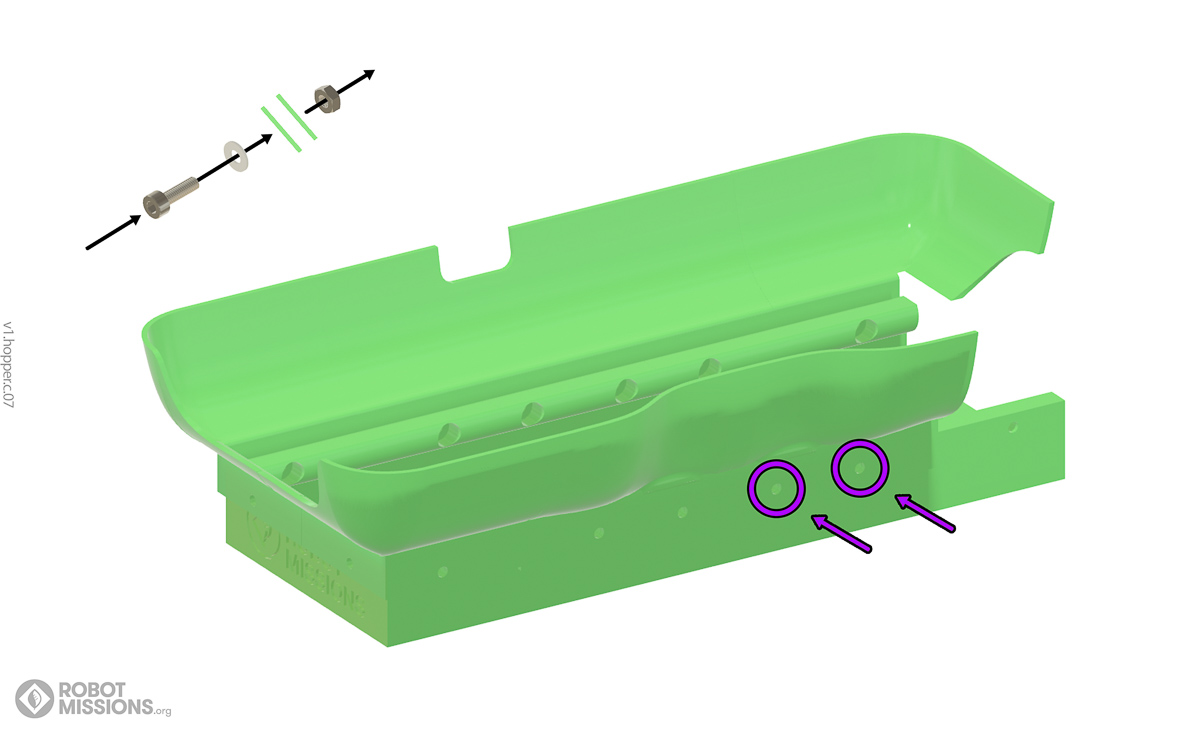
The right back corner hopper piece is next. Use 2x M3 10mm screws to attach it to the right hopper mount.
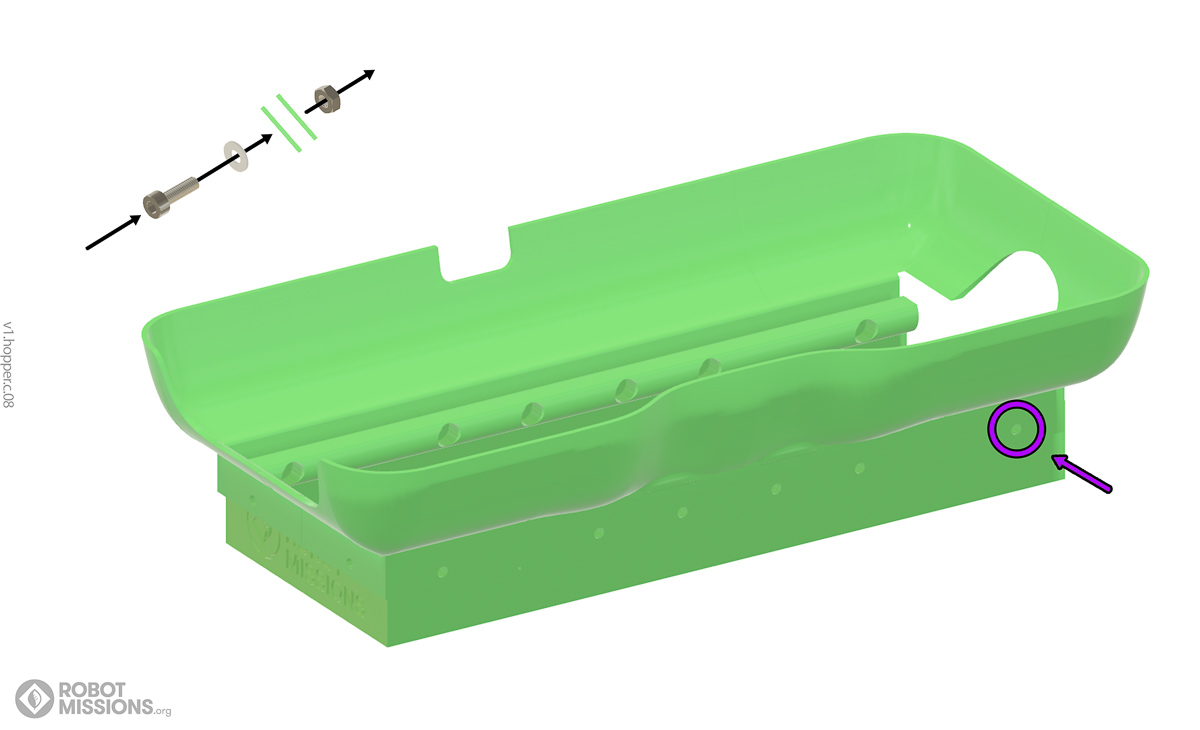
Use 2x M3 10mm screws to attach the front right corner of the hopper to the right hopper mount.
The right front hopper piece is next. Use 2x M3 10mm screws to attach it to the right and middle hopper mount.
Next, get your front left hopper piece and use 2x M3 10mm screws to attach it to the middle and left hopper mount.
Finally, attach the front left hopper corner and use 1x M3 10mm screw to attach it to the left hopper mount.
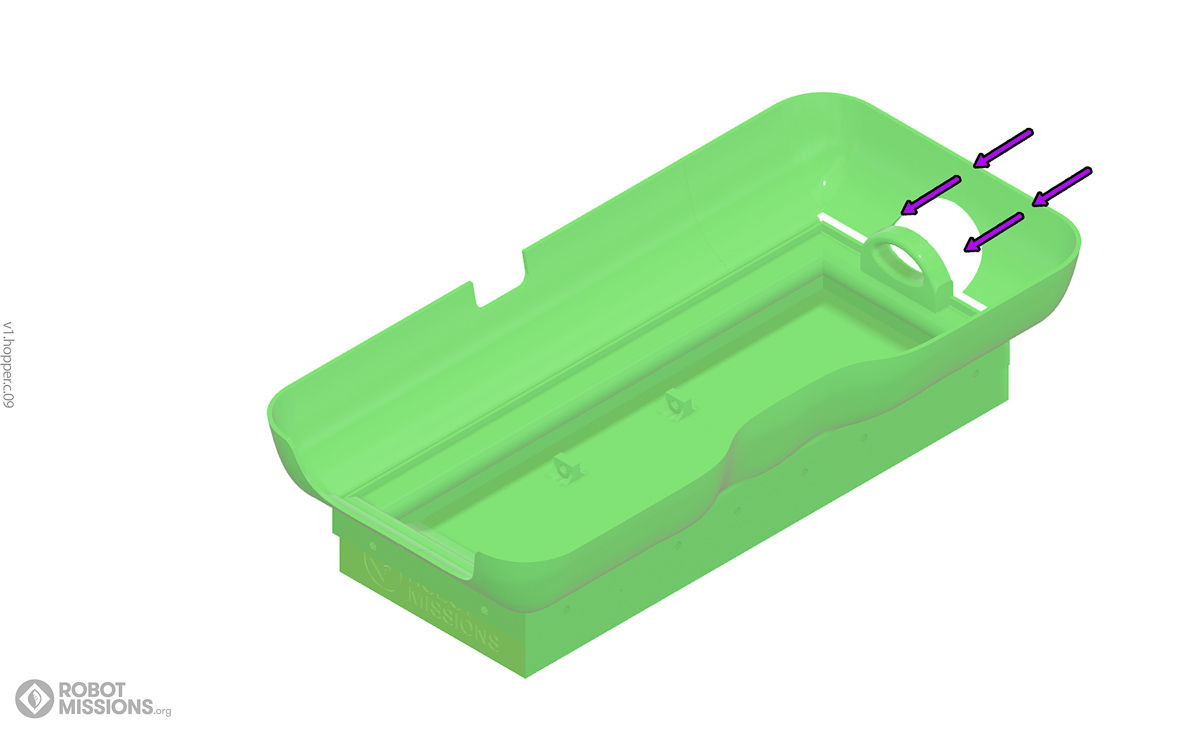
Place the tray in the hopper mount. It may require some percussive persuasion. Or sanding.
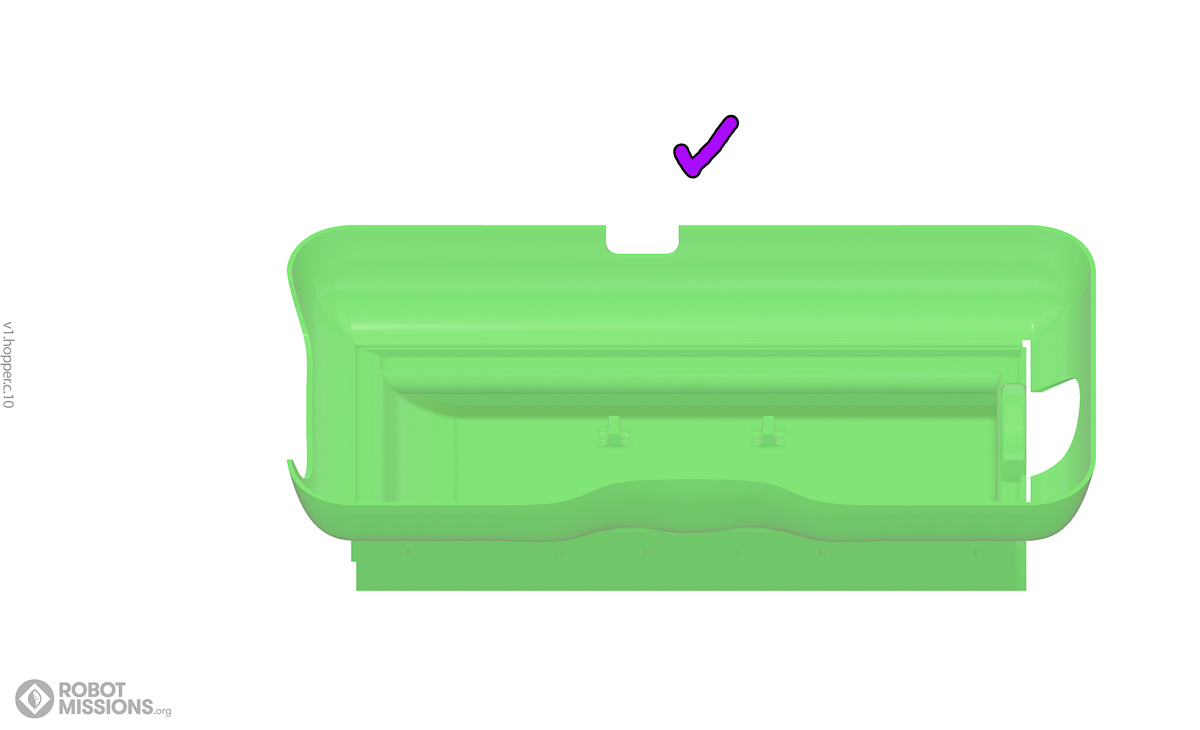
The base of your hopper is done!
| ← Tray and Mount | Lid and Mount (pt. 1) → |